‘How hard is it?’
You probably heard this the last time you tried to convince your mates to come hiking, and it’s a pretty good question. But how do you explain how hard (or how easy) a hike is? It’s not just how far you’re walking or how steep the climb is – everything from the signage to the track quality can affect the difficulty of a hike.
Did you know there’s an official grading system in place to judge the difficulty of tracks? It’s called the Australian Walking Track Grading System (AWTGS) – it’s been developed with consistent wording and symbols so that walkers can find a hike that meets their expectations and not get caught out of their depth in the bush.
The system’s so good that NSW National Parks use it to grade all of their hikes. Let’s dig in.
-
How does the Australian Walking Track Grading System work?
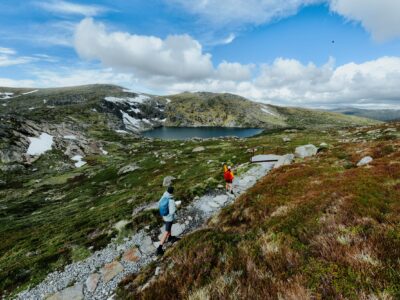
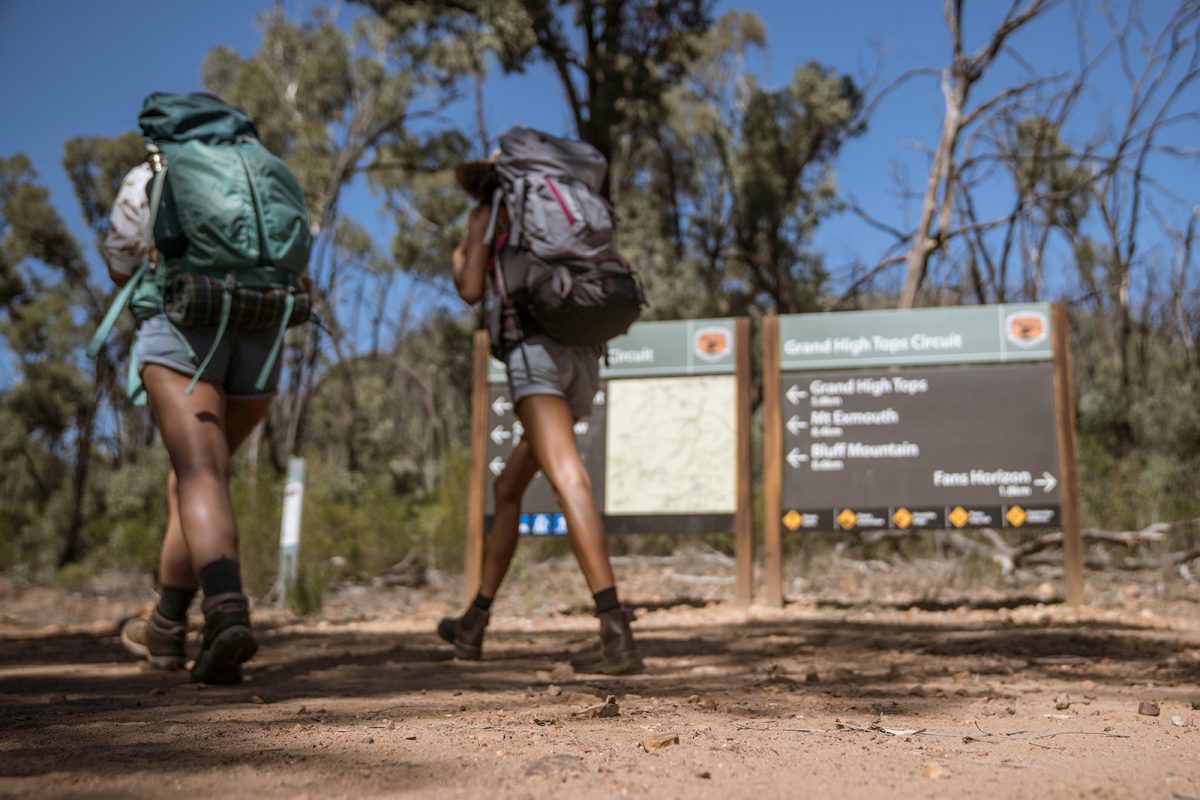 Photo Information
Warrumbungle National Park
Rob Mulally/DPIE (2018)
The system uses a bunch of standardised criteria to assess a hike with grades, ranging from 1 (easiest) to 5 (hardest). This gets done in a technical way, but is then translated into plain English for all of us. Phew!
So what goes into a hike’s grading?
- Distance
- Gradient
- Quality of path
- Quality of markings (signage)
- Steps
NSW National Parks then adds these two below to its signs:
- Experience required
- Time
Here’s the important thing: a hike’s grade is based on the highest individual score of any criteria. If one criteria is grade 4, it’s a grade 4 hike, even if all the other criteria only score a 1. It makes sense when you think about it – a 1km hike with good signage and a well-made track is still going to be a toughy if it goes straight up a mountain.
When you’re reading about a hike you get all the info, so if you understand the criteria below you’ll be able to decide for yourself if a hike is right for you. Maybe a track only got a hard grade because it’s a bit rough, but you’re nimble on your feet. You might be able to do it after all!
-
So what do the grades and symbols mean?
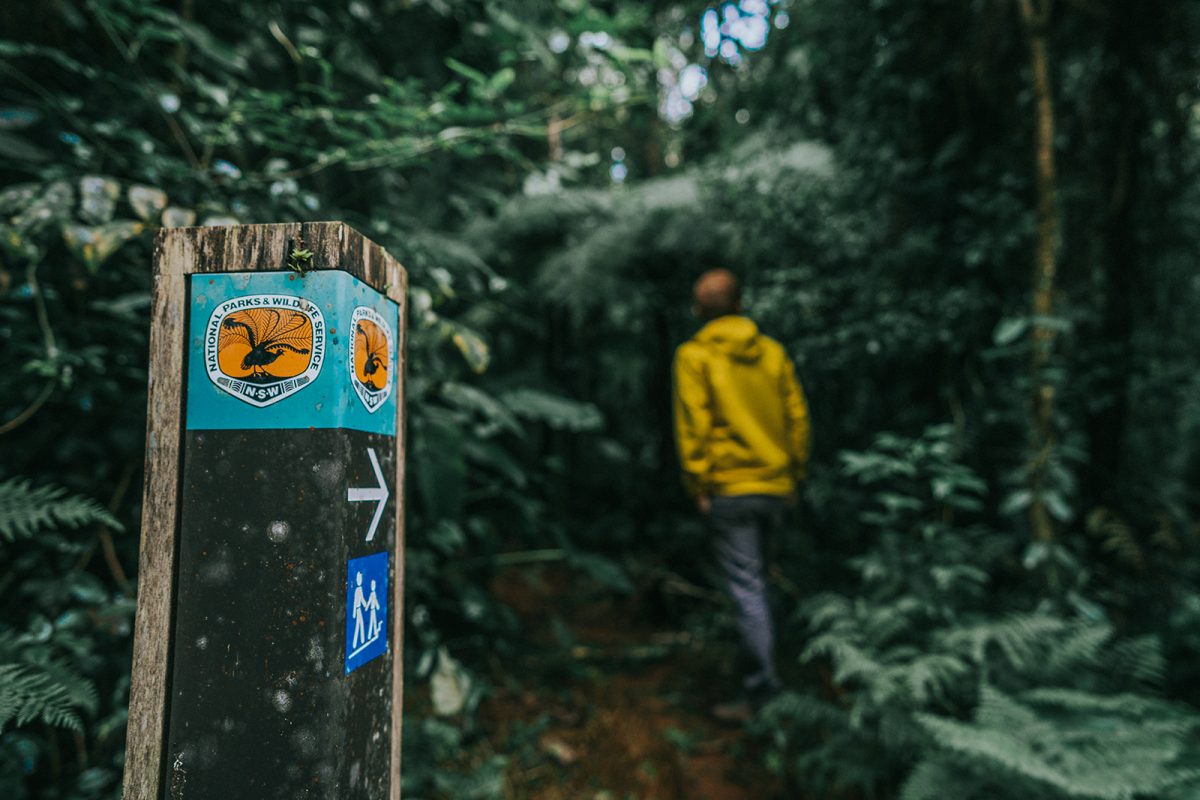 Photo Information
Border Ranges National Park
Branden Bodman/DPIE
 Grade 1: You don’t need any experience for these walks. They’re suitable for wheelchairs and are up to 5km.
 Grade 2: Great for families with young children! There might be a few hills but they’re never over 10km and the path is easy to follow.
 Grade 3: A little experience necessary for grade 3. You’ll want to be fit for steeper hills and steps, a longer max distance (20km) and rough surfaces.
 Grade 4: Experience needed! Longer, rougher, steeper and not always well-signposted or a clear track.
 Grade 5: These are for the grizzled hikers. These tough remote hikes need navigation and first aid skills and cross very difficult unmarked terrain. Not to be taken lightly!
 -
The criteria explained (with examples to get you out there!)
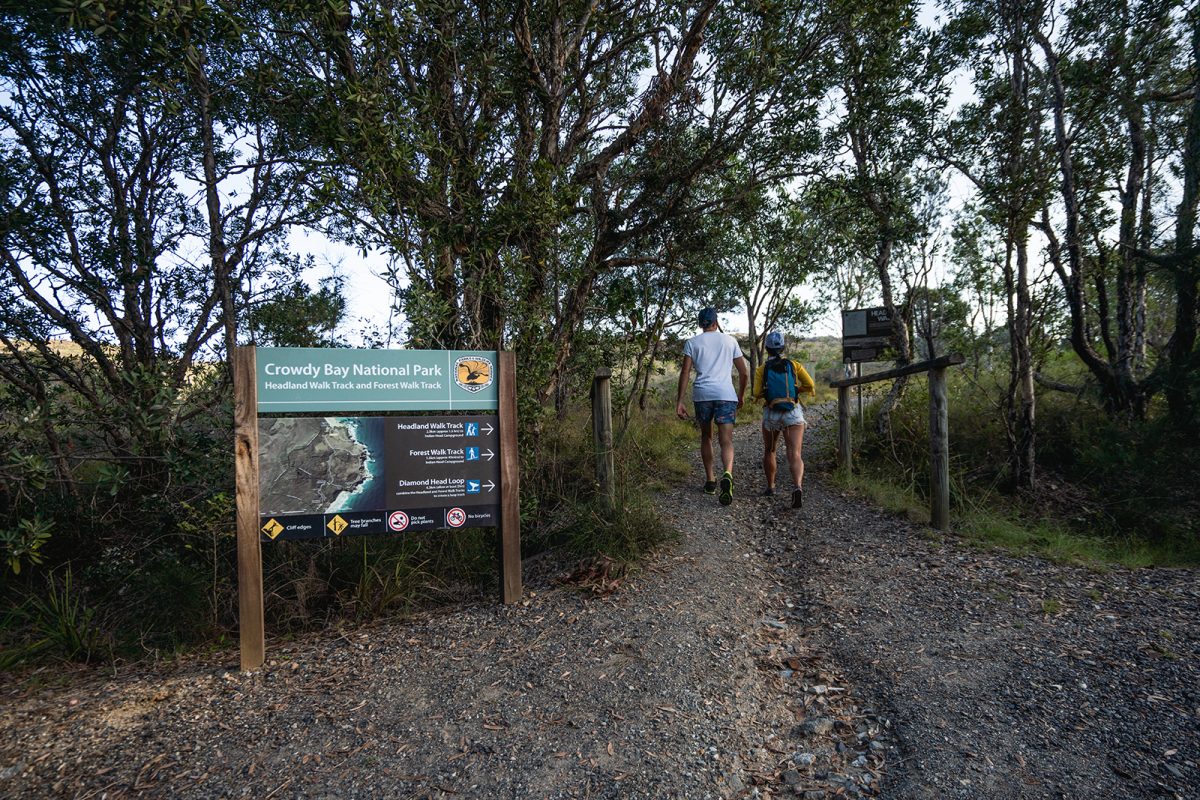 Photo Information
Forest walking track
Crowdy Bay National Park
Rob Mulally/DPIE
Distance
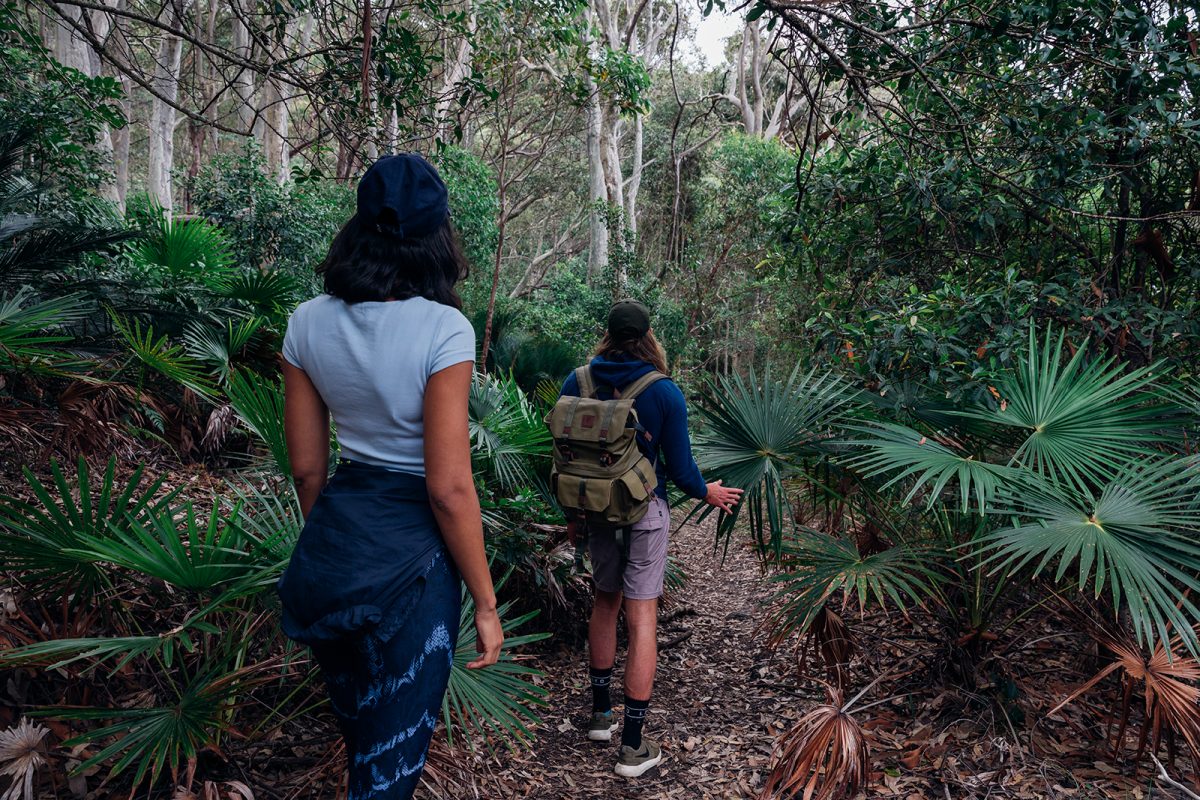 Photo Information
Murramarang National Park
Melissa Findley/DPIE (2017)
Yep, it’s the distance you’ll be walking. Walks can be one way, return or a loop – make sure you check the kind of walk you’ll be doing, you don’t want to underestimate the distance by half! Grade 1 is up to 5km, Grade 2 is up to 10km and Grade 3 is up to 20km. Grades 4 and 5 hikes may be over 20km, but distance isn’t used for grading at these levels. You’ll also only get the distance to the nearest kilometre on signs at grades 4 and 5 because you’re a tough independent walker who don’t need no metres.
Example hike: Kosciuszko walk – Thredbo to Mt Kosciuszko – Kosciuszko National Park (Grade 3)
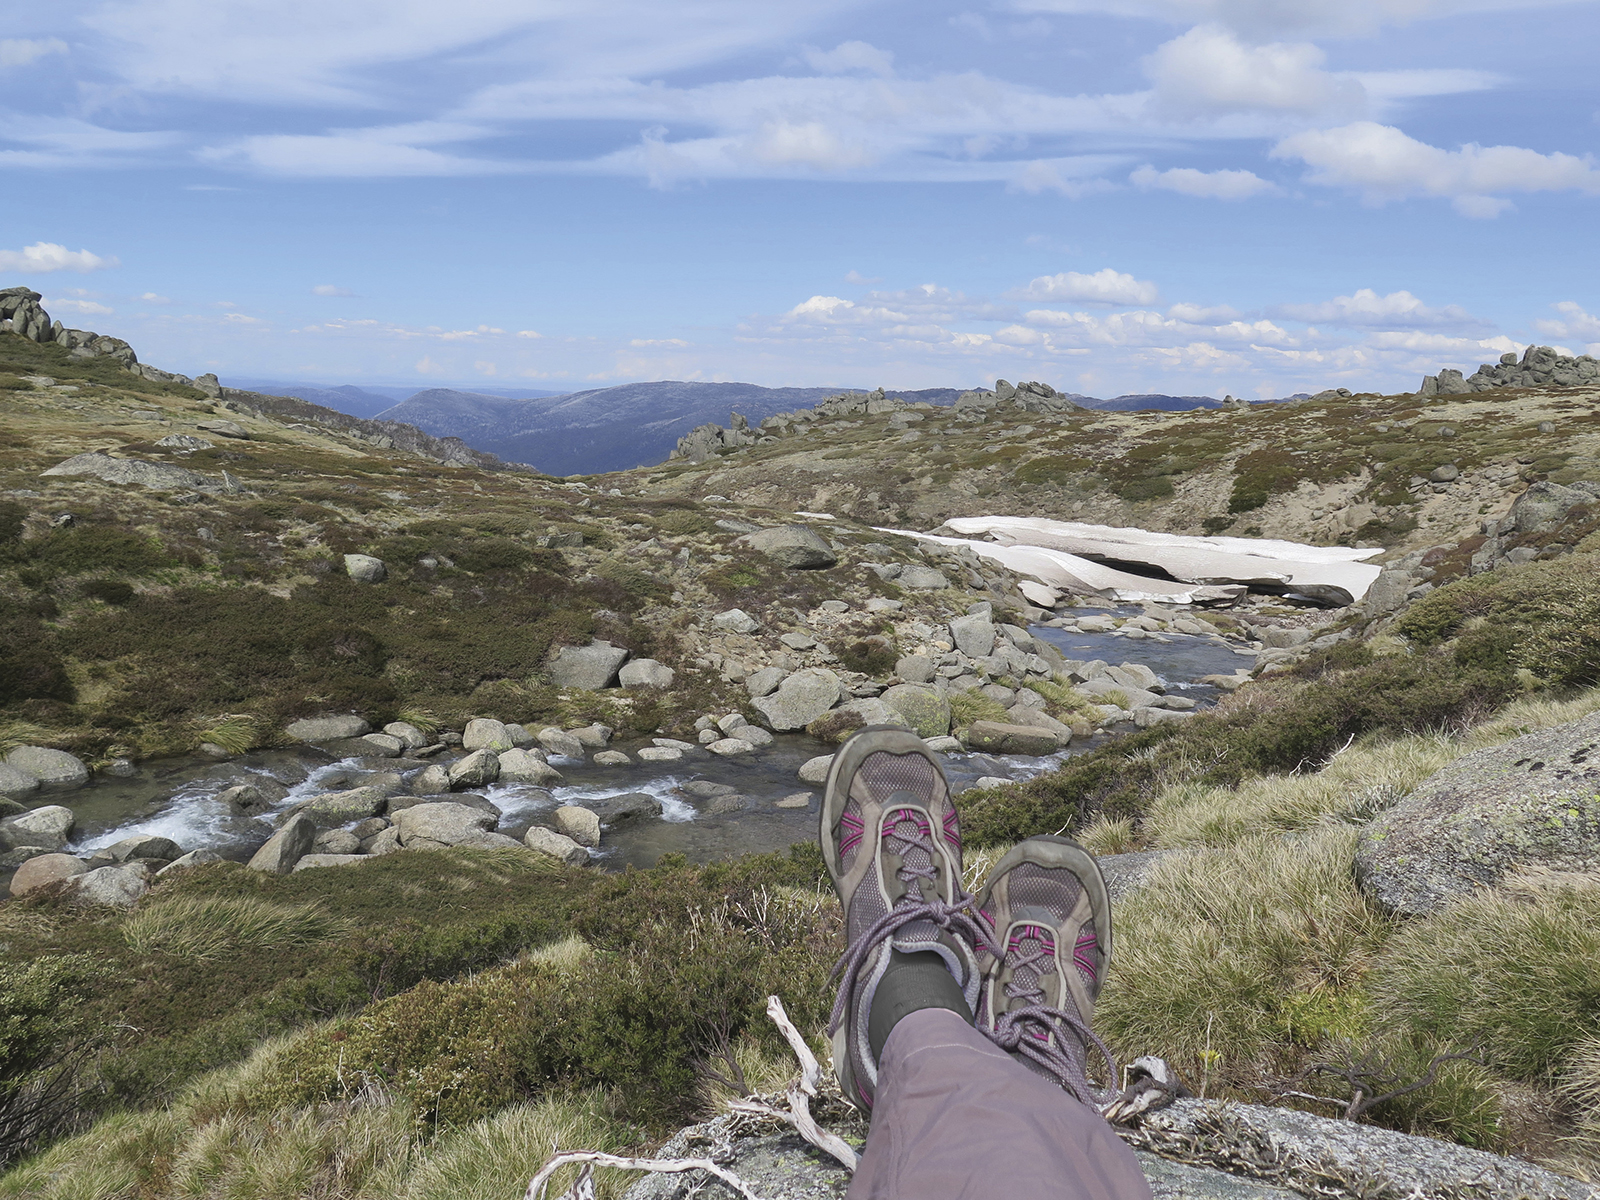 Photo Information
Kosciuszko walk – Thredbo to Mount Kosciuszko
Kosciuszko National Park
Elinor Sheargold/DPIE
This (fairly epic) hike is well-signposted on a formed path, but it’s over 10km long (and has some steep bits) so it gets a grade 3. Easy!
Gradient
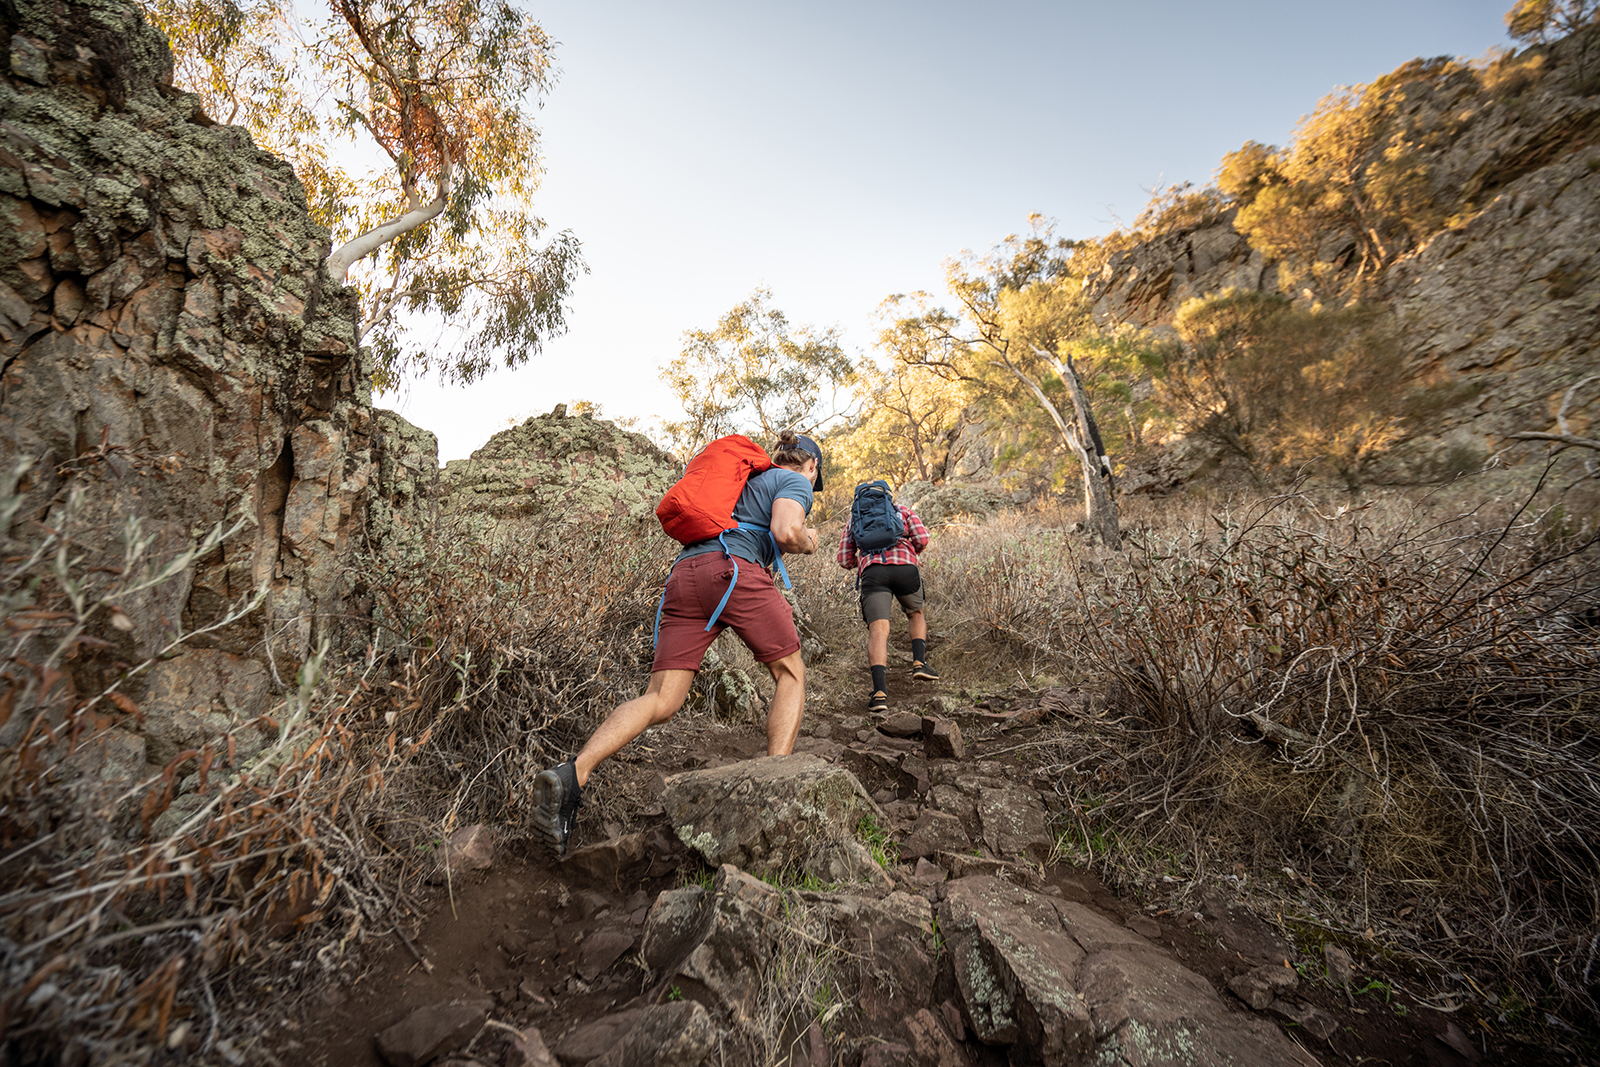 Photo Information
No pain no gain.
Yerong walking track
The Rock Nature Reserve – Kengal Aboriginal Place
Rob Mulally/DPIE (2019)
While NPWS has to get out the protractor, you’ll get the info in easy to understand words. These are the descriptors and their grades:
- Flat
- Gentle hills
- Short steep hills
- Very steep
- Very steep and difficult
Gradients work kind of like the overall grading system – it only takes one gentle hill or steep section to give a hike that grading, even if the rest of it is flat.
Example hike: The Falls Walk – Budderoo National Park (Grade 4)
View this post on InstagramDespite being on a paved boardwalk, the Falls Walk gets steep at times, making it a solid grade 4.
Quality of Path
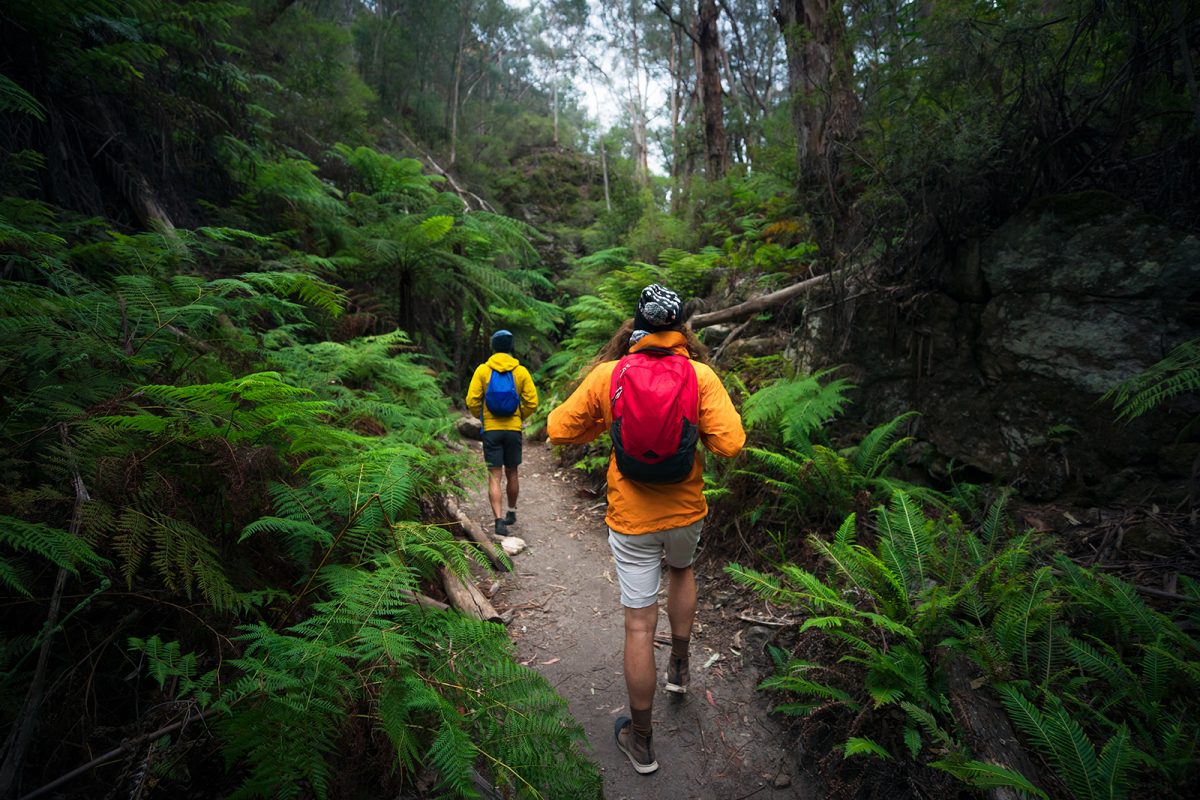 Photo Information
Wollemi National Park
Daniel Tran/DPIE (2018)
How good is the track? The NPWS will vibe this one out too, and distill it into a few words that sum up the worst you’ll encounter on your hike. Here they are:
- Well-formed track
- Formed track
- Formed track, some obstacles
- Rough track, many obstacles
- Rough unformed track
You don’t want to underestimate the difficulty of walking on rough tracks – it’s physically more draining and easier to trip over, or even get lost.
Example hike: Fairfax Heritage Walking Track – Blue Mountains National Park (Grade 1). This hike is so flat and well-maintained that it’s wheelchair accessible, giving it a grading of 1. Pretty much anything that could have stopped a wheelchair would have thrown it into grade 2 territory.
Quality of markings
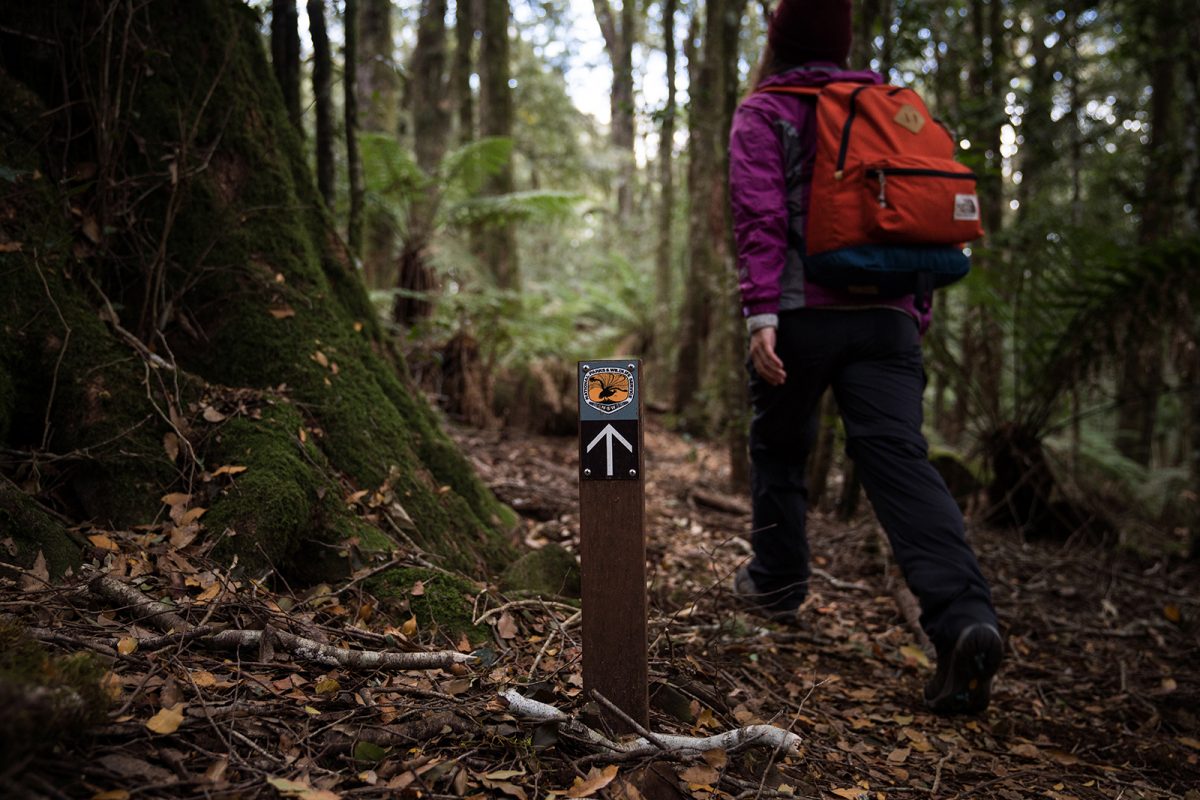 Photo Information
Barrington Tops National Park
Rob Mulally/DPIE (2018)
Which way? The less signage available on a hike, the harder its grade gets. If it’s a grade 1 or 2 hike you can expect it to be pretty obvious. Moving to grade 3 it’ll still be fine, but the signs might be a bit more spread out. It starts to get pretty sparse by grade 4 and by grade 5, you’re on your own!
Ranger Tip: For grades 4 and 5 hikes you’ll want strong navigational skills. A compass, topographic map and GPS are all-important kit for these harder hikes.
Example hike: The New England Wilderness walk – New England National Park (Grade 5)
This tough hike is a perfect example of a grade 5. It requires strong navigation skills as there isn’t any signage (you’ll also need strong legs, route finding skills and a love of steep hills). It’s pretty wild!
Steps
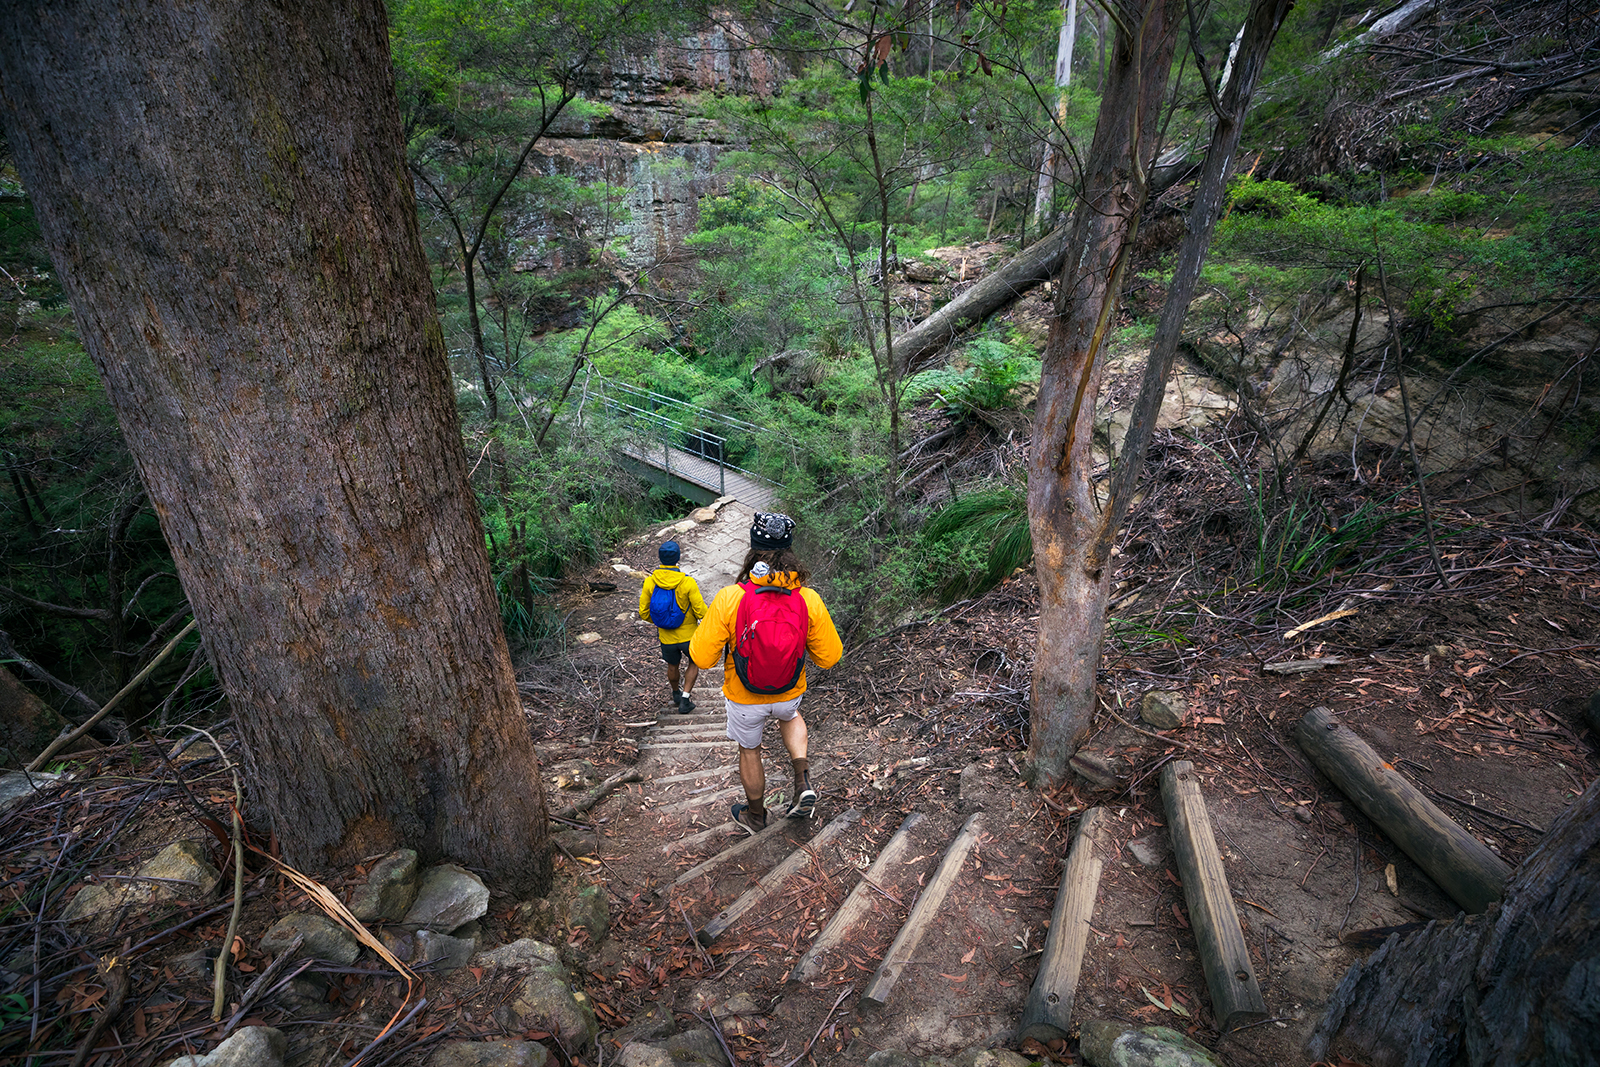 Photo Information
As long as you don’t have to go back up the way you have come down, you’re all good.
Wollemi National Park
Daniel Tran/DPIE
Steps get their own place in the grading system because, well, steps are hard, man. From grades 1 to 3 the grades go like this:
- No steps
- Occasional steps
- Many steps
You can’t get more than ‘many steps’ (maybe ‘only steps’?) so there’s no grade 4 or 5 for the amount of steps on the hike
Example hike: Great North walk – Lane Cove National Park (Grade 3). This section of the Great North walk is pretty straightforward but it’s chockas with steps, so it sits at a tasty grade 3.
-
Other considerations
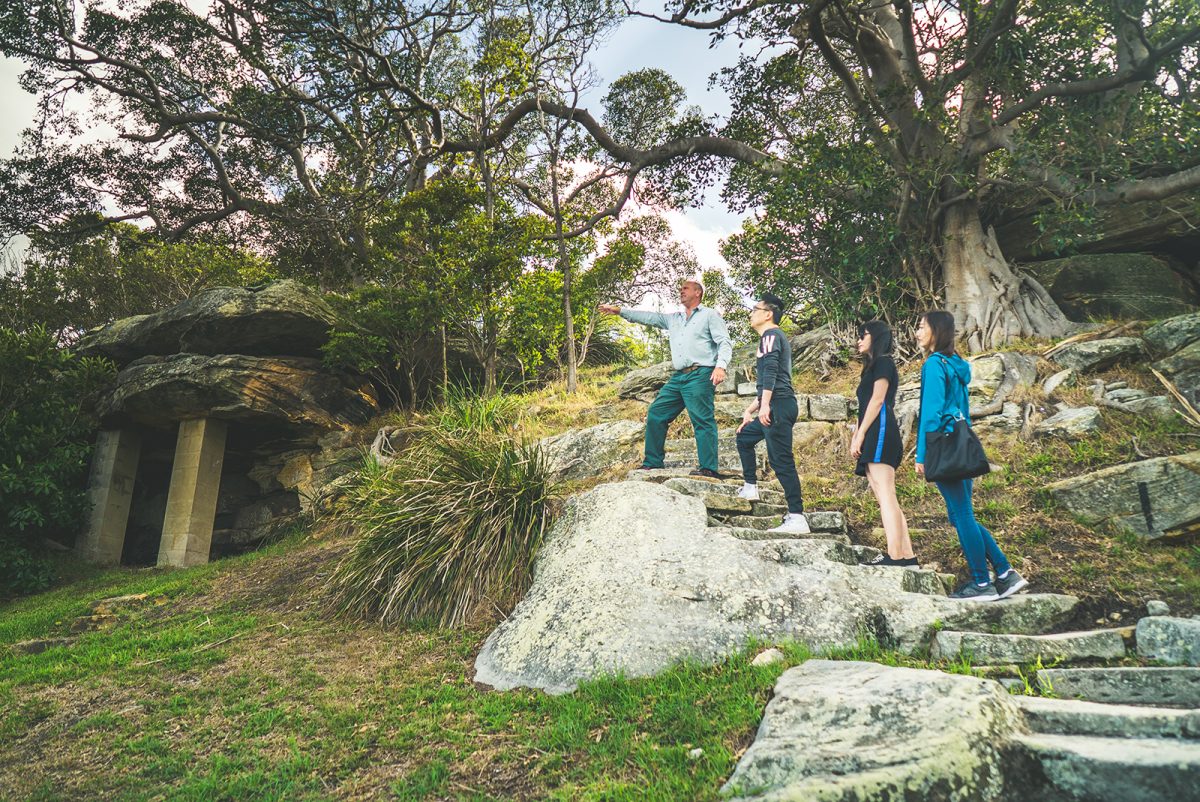 Photo Information
Sydney Harbour National Park
Daniel Parsons/DPIE
That extra info that NPWS includes in their signs is important to understand too, even if it doesn’t affect the actual grade that’s given to a track.
Experience Required
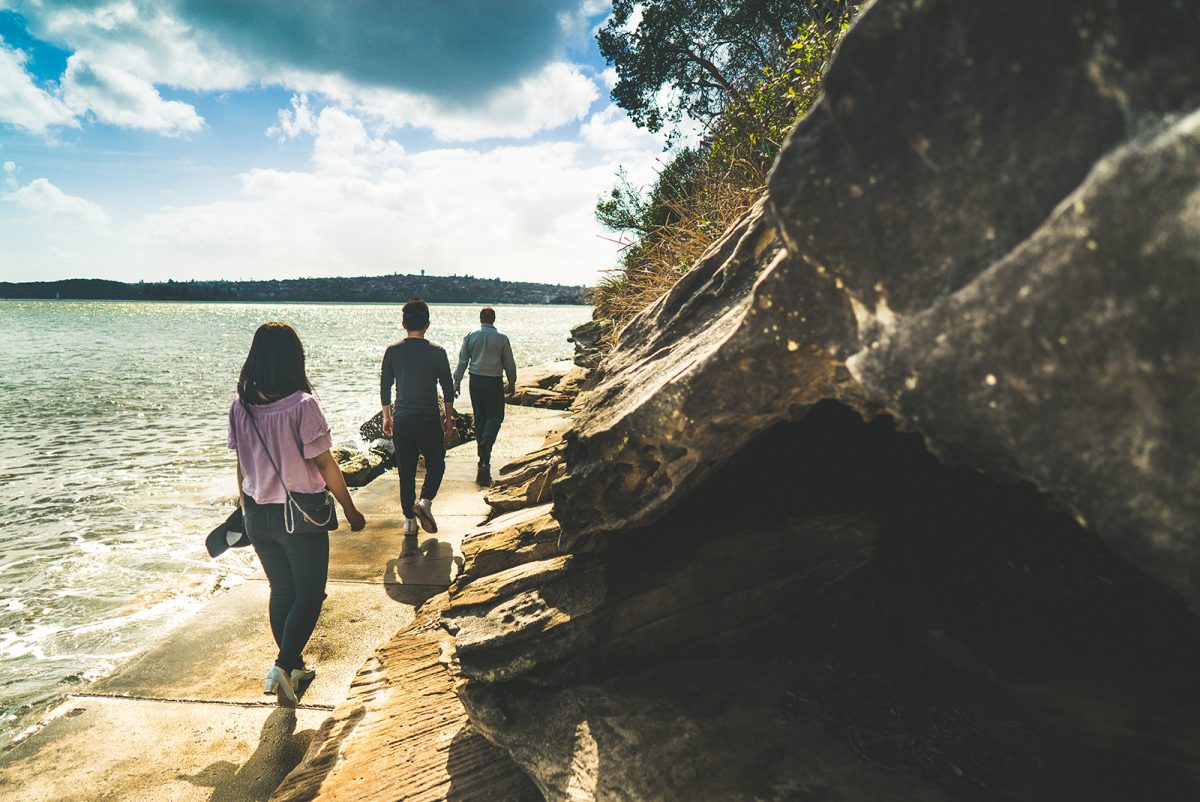 Photo Information
Sydney Harbour National Park
Daniel Parsons/DPIE
Experience is kind of a vague term. Luckily if it’s a grade 1 or 2 hike you don’t need any, so go right ahead!
At grade 3 it’s recommended that you’ve got some experience. It’s not a good idea to tackle one of these as your first hike in case you get out of your depth. If you’ve got a friend who knows what they’re doing you’ll be ok though!
Grade 4 is a bit spicy. You’ll want a bunch of hikes under your belt so you’ve got the basics nailed. Grade 5 is a proper challenge and everyone in your party should know exactly what they’re doing. If you’ve got your eyes set on a grade 5 hike, start planning out a range of easier hikes to build up your experience.Time
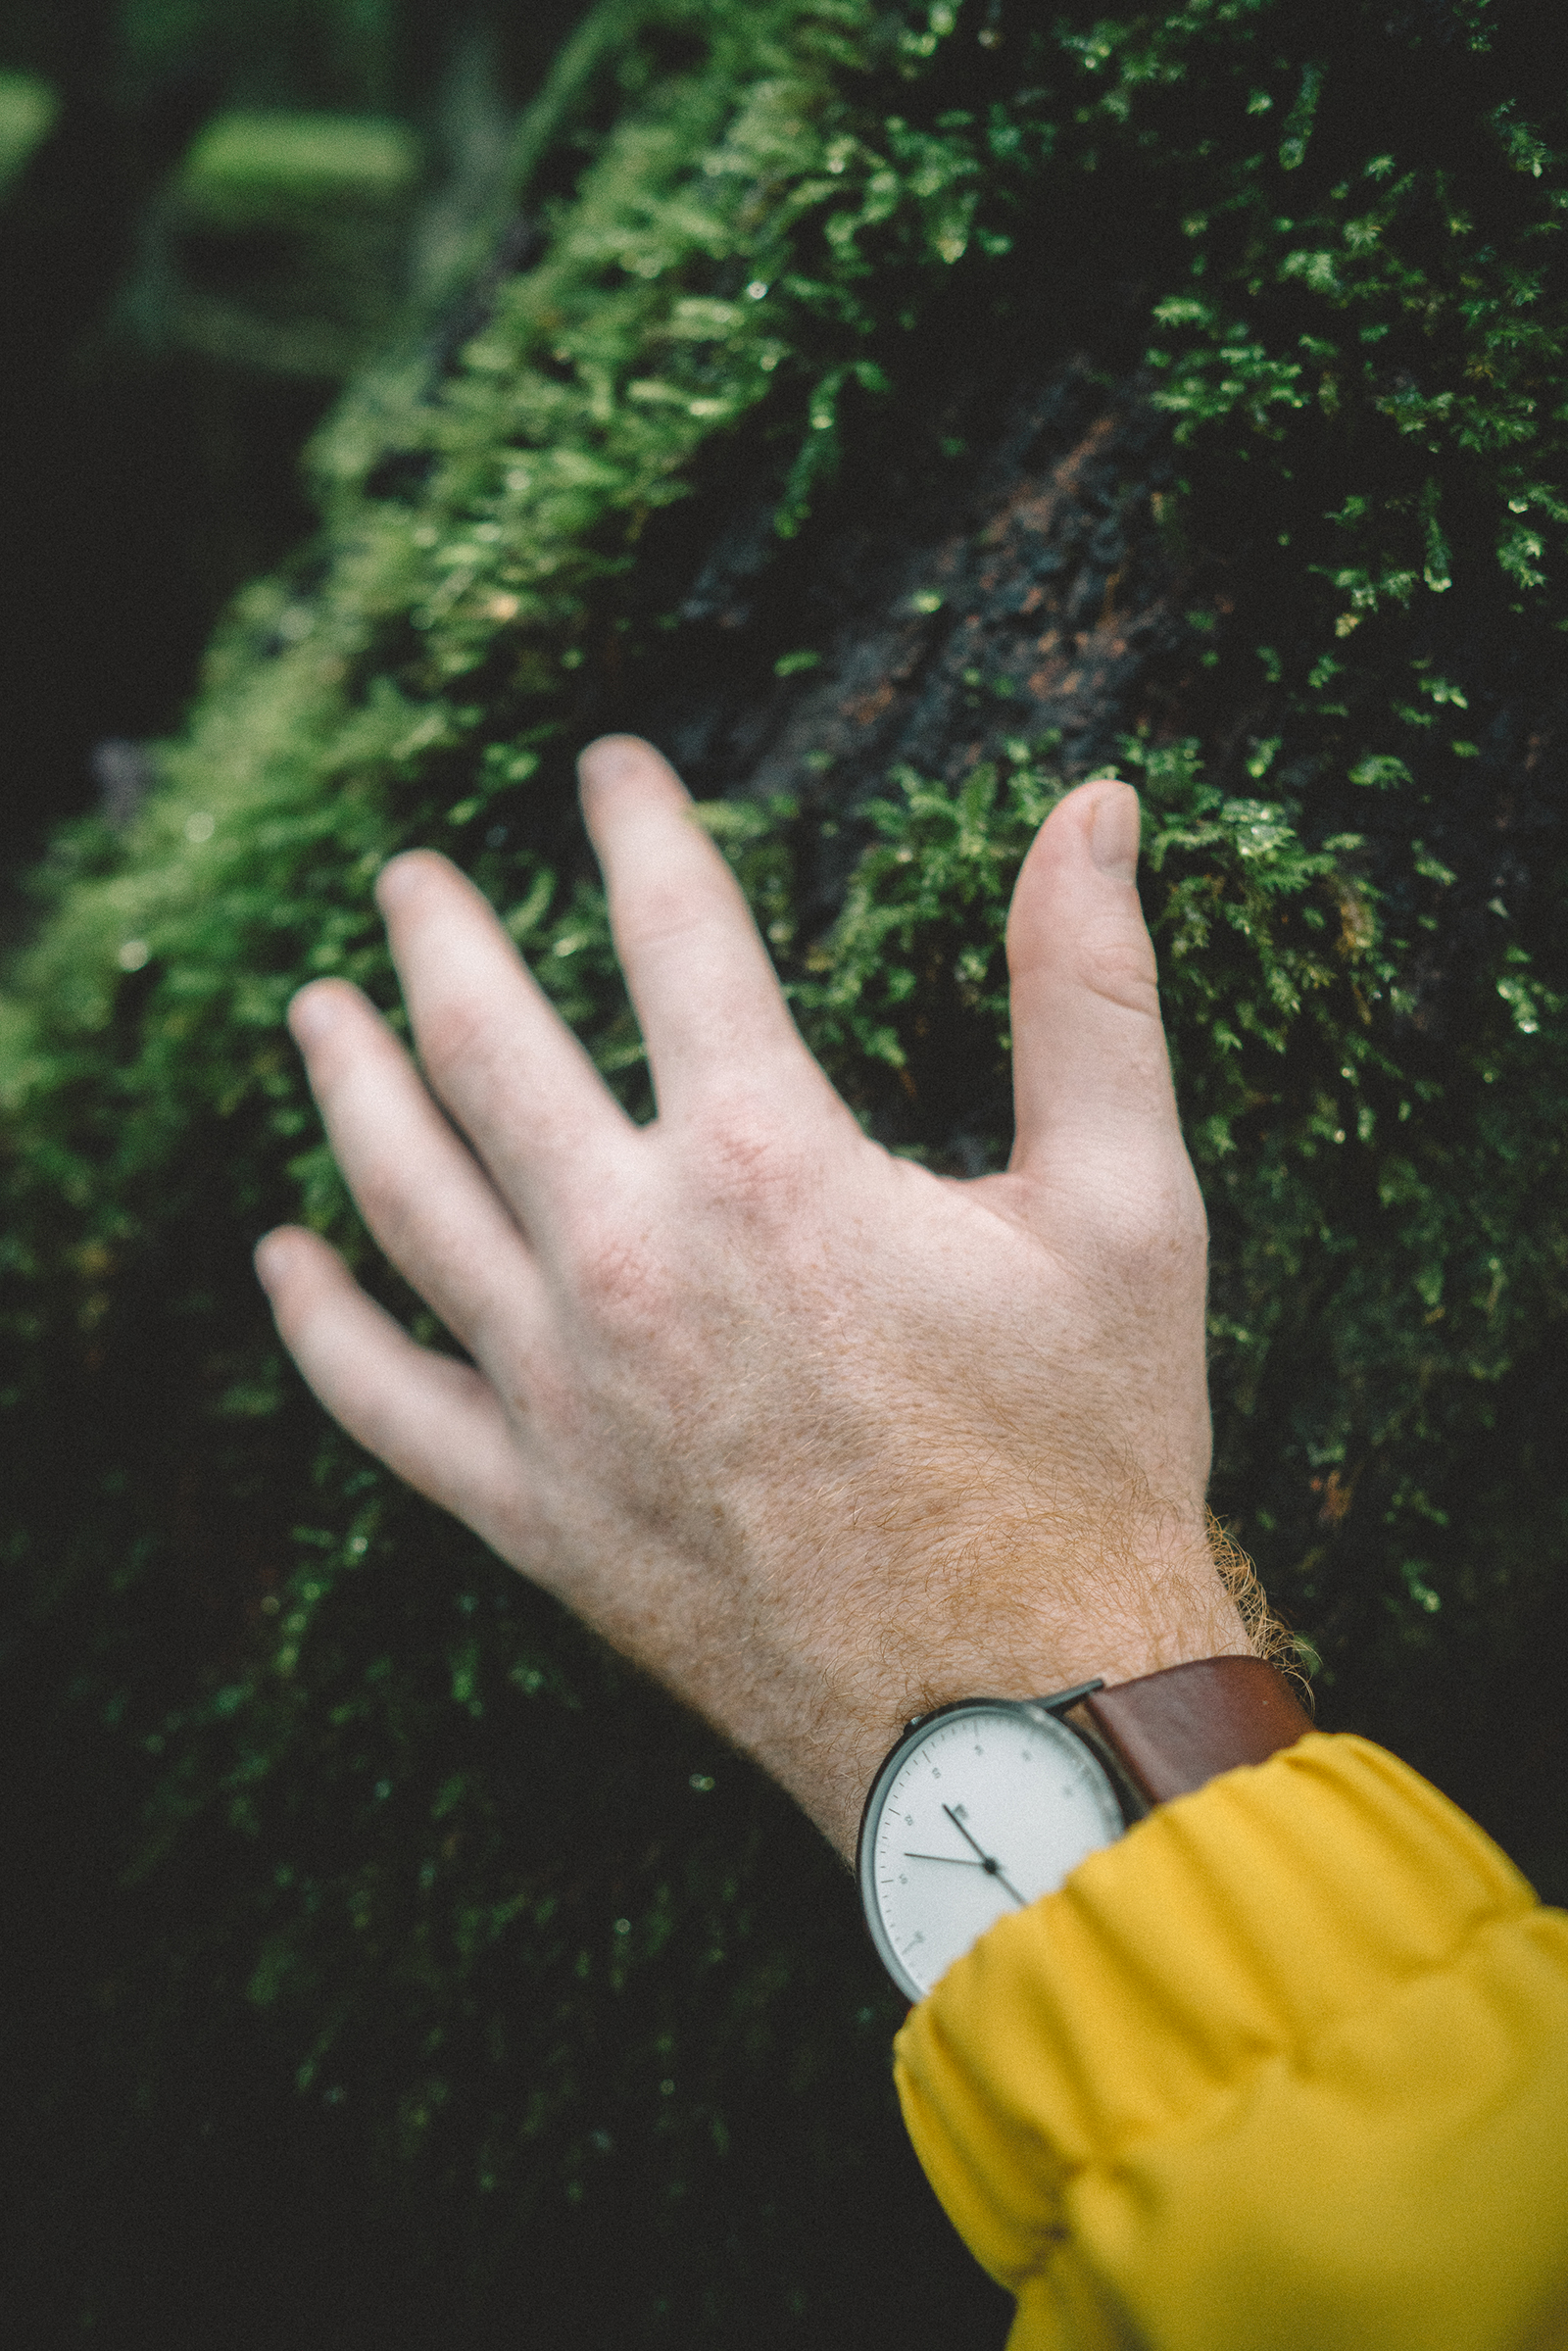 Photo Information
The time surely goes, when you’re having fun
Border Ranges National Park
Branden Bodman/DPIE
The time it takes to do a walk doesn’t affect the grading it gets. If the final grade is a 1 or a 2 you’ll get the high and low end estimates, for grades 3 and above you’ll get the estimated hours or days.
Ranger Tip: Most people think they can ‘beat’ these times. Your plan should never be based around going far quicker than the estimated time. It’s often not as easy as you think!
-
Got your hiking basics sorted?
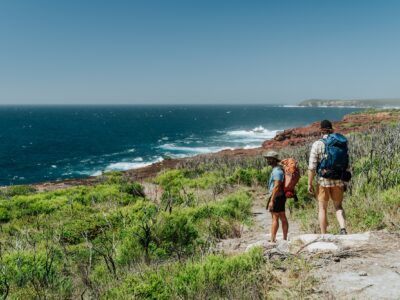
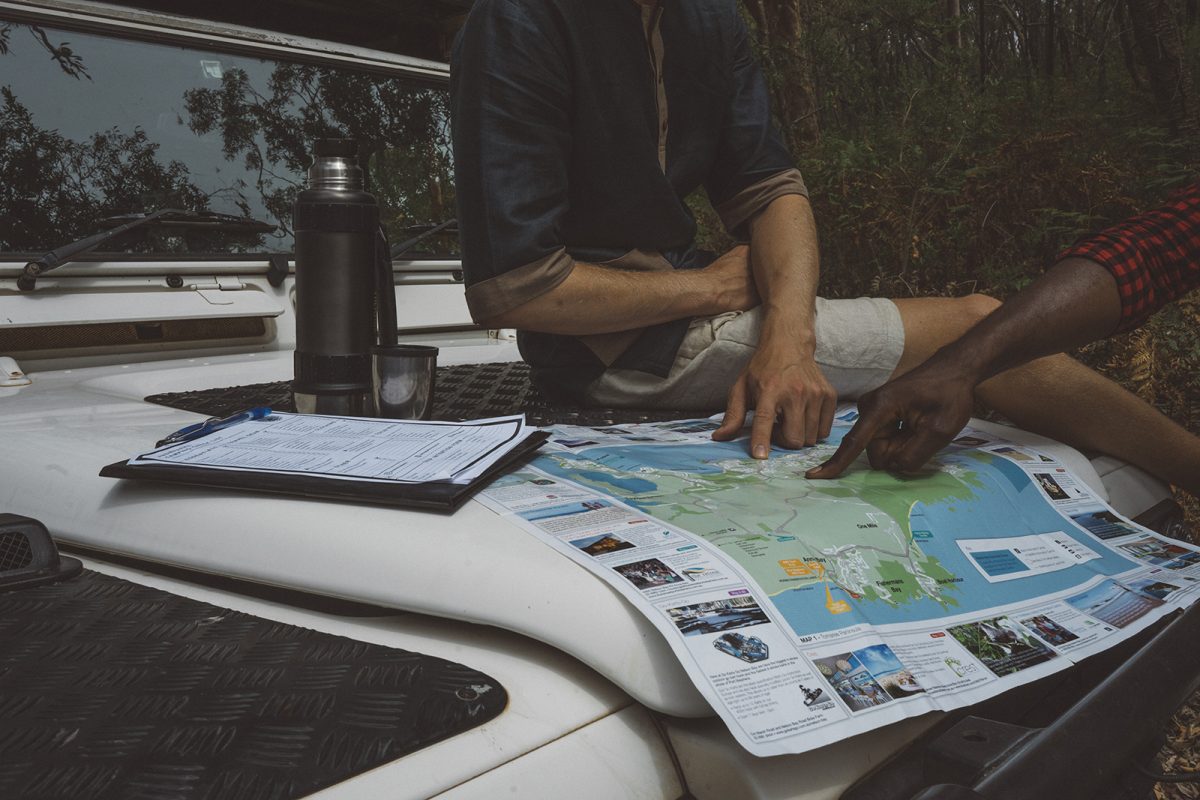 Photo Information
Tomaree National Park
Erin McGauley
You’re nearly ready, but have you got the basics down pat? Think before you trek, have you got enough water, a rainproof layer, some food and a mobile (or Personal Location Beacon (PLB) if you’ll be out of reception)? Get the lowdown on bushwalking safety so your hike isn’t harder or more dangerous than you were expecting.
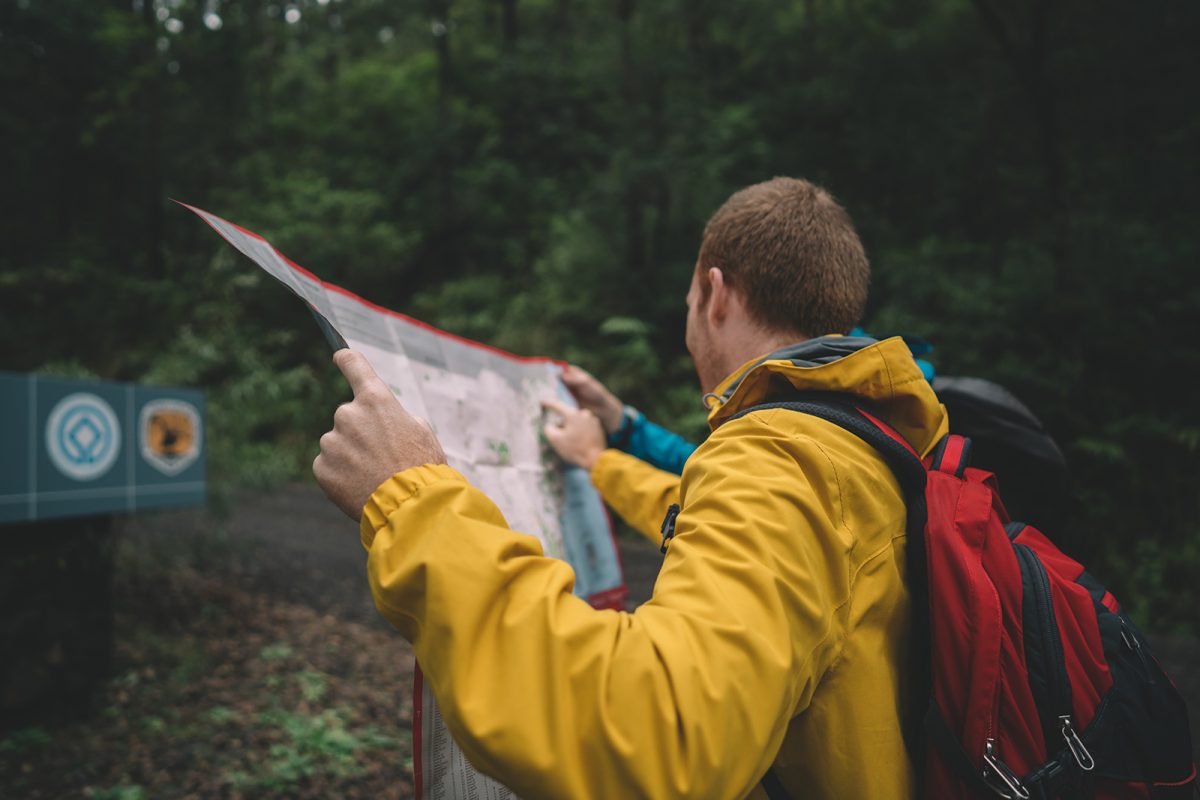 Photo Information
Border Ranges National Park
Branden Bodman/DPIE
It’s also worth checking the weather, checking up to date alerts on the NPWS website, telling friends and family your plans, and bringing a compass, topographic map and GPS.
-
Make sure you leave no trace
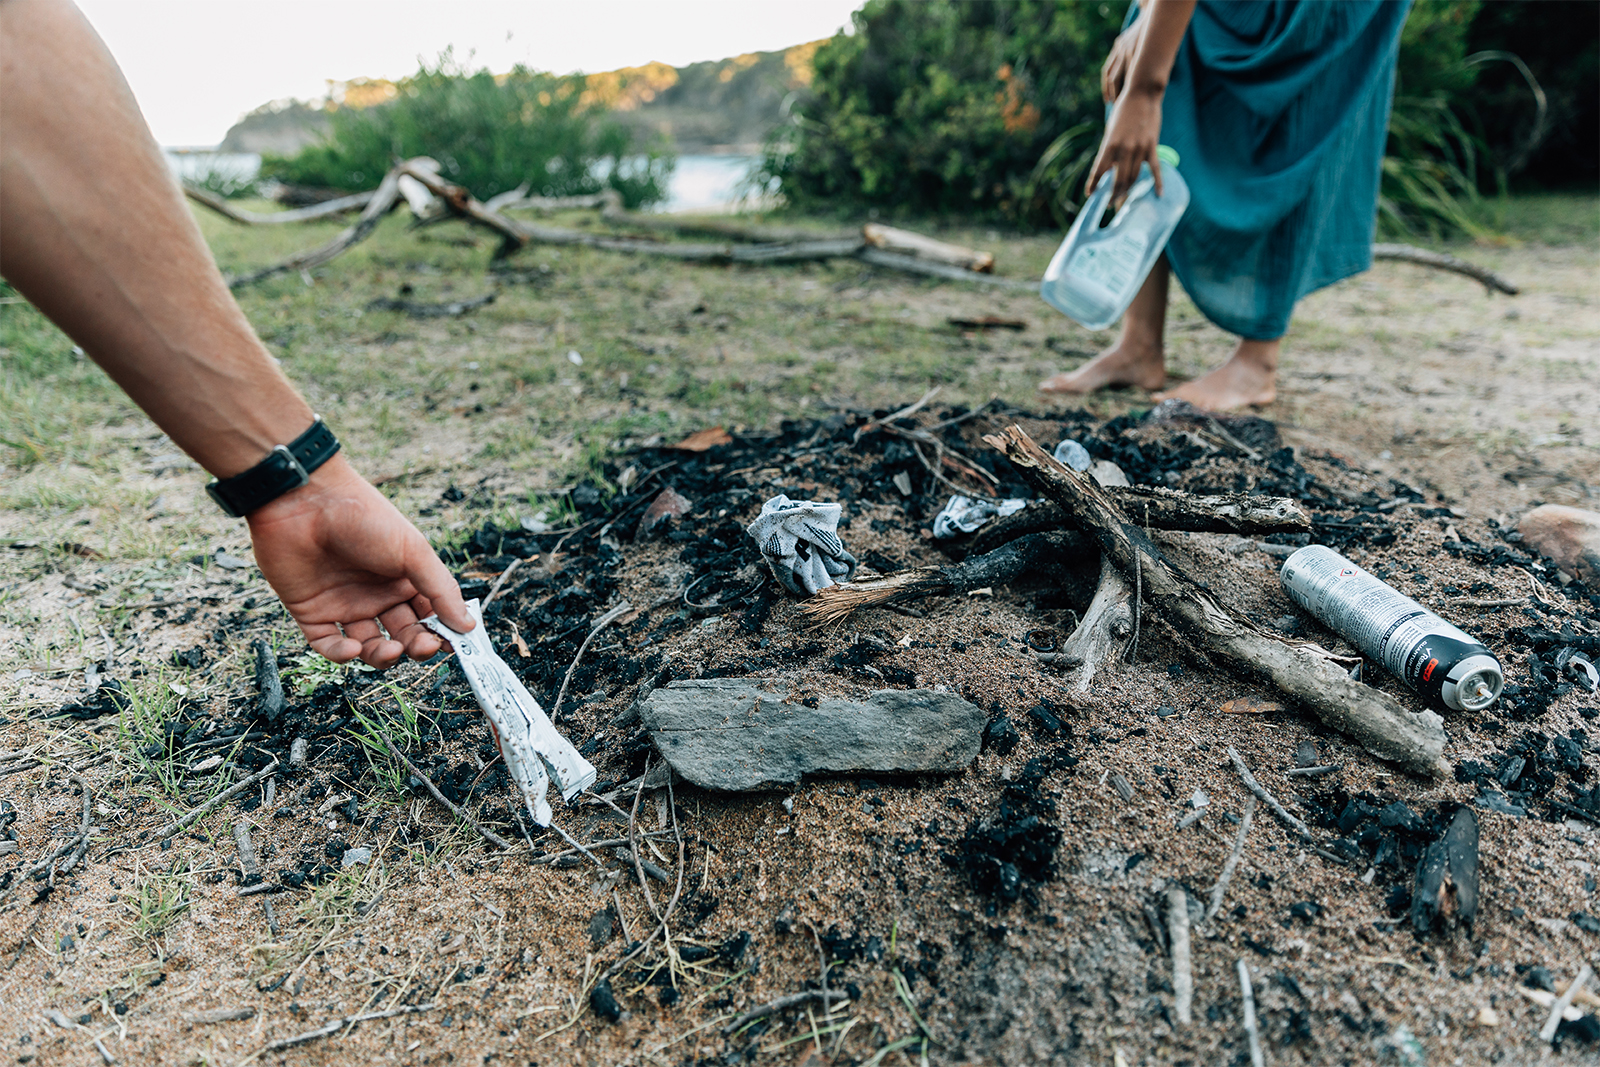 Photo Information
#leavenotrace. Leave only footprints.
Murramarang National Park
Melissa Findley/DPIE
Adventurers all over the world are guided by the leave no trace principles. The 7 principles ensure that the outdoors stays beautiful and enjoyable for everyone; make sure you’re up to speed and prepared before you head out.
Please note: due to bushfires, the images may not accurately reflect the current national park landscape.