

When did you last use a camera? You know, one that couldn’t also call someone or open TikTok? It’s been a while, hasn’t it? Phone cameras are so good these days that most people leave the old point ‘n’ shoot at home, but with so many people taking (and posting) photos, how will you make yours stand out?
The first answer’s easy, find a good setting! Head to a NSW national park for locations that may as well be movie sets. Next, grab your phone and read this list. We’ve tried and tested a bunch of tips and tricks, that will help lift your photo game – don’t forget to tag #NSWparks, you might even get a feature.
Don’t Forget: Even if national parks are the scene of your next photoshoot they’re still natural and wild places. Read these safety tips, plan ahead, stay up to date on all park alerts, check the weather, and prepare yourself for conditions to change quickly – you’ll be setting yourself up for a good time, every time.
-
1/7
Seek Out Reflections
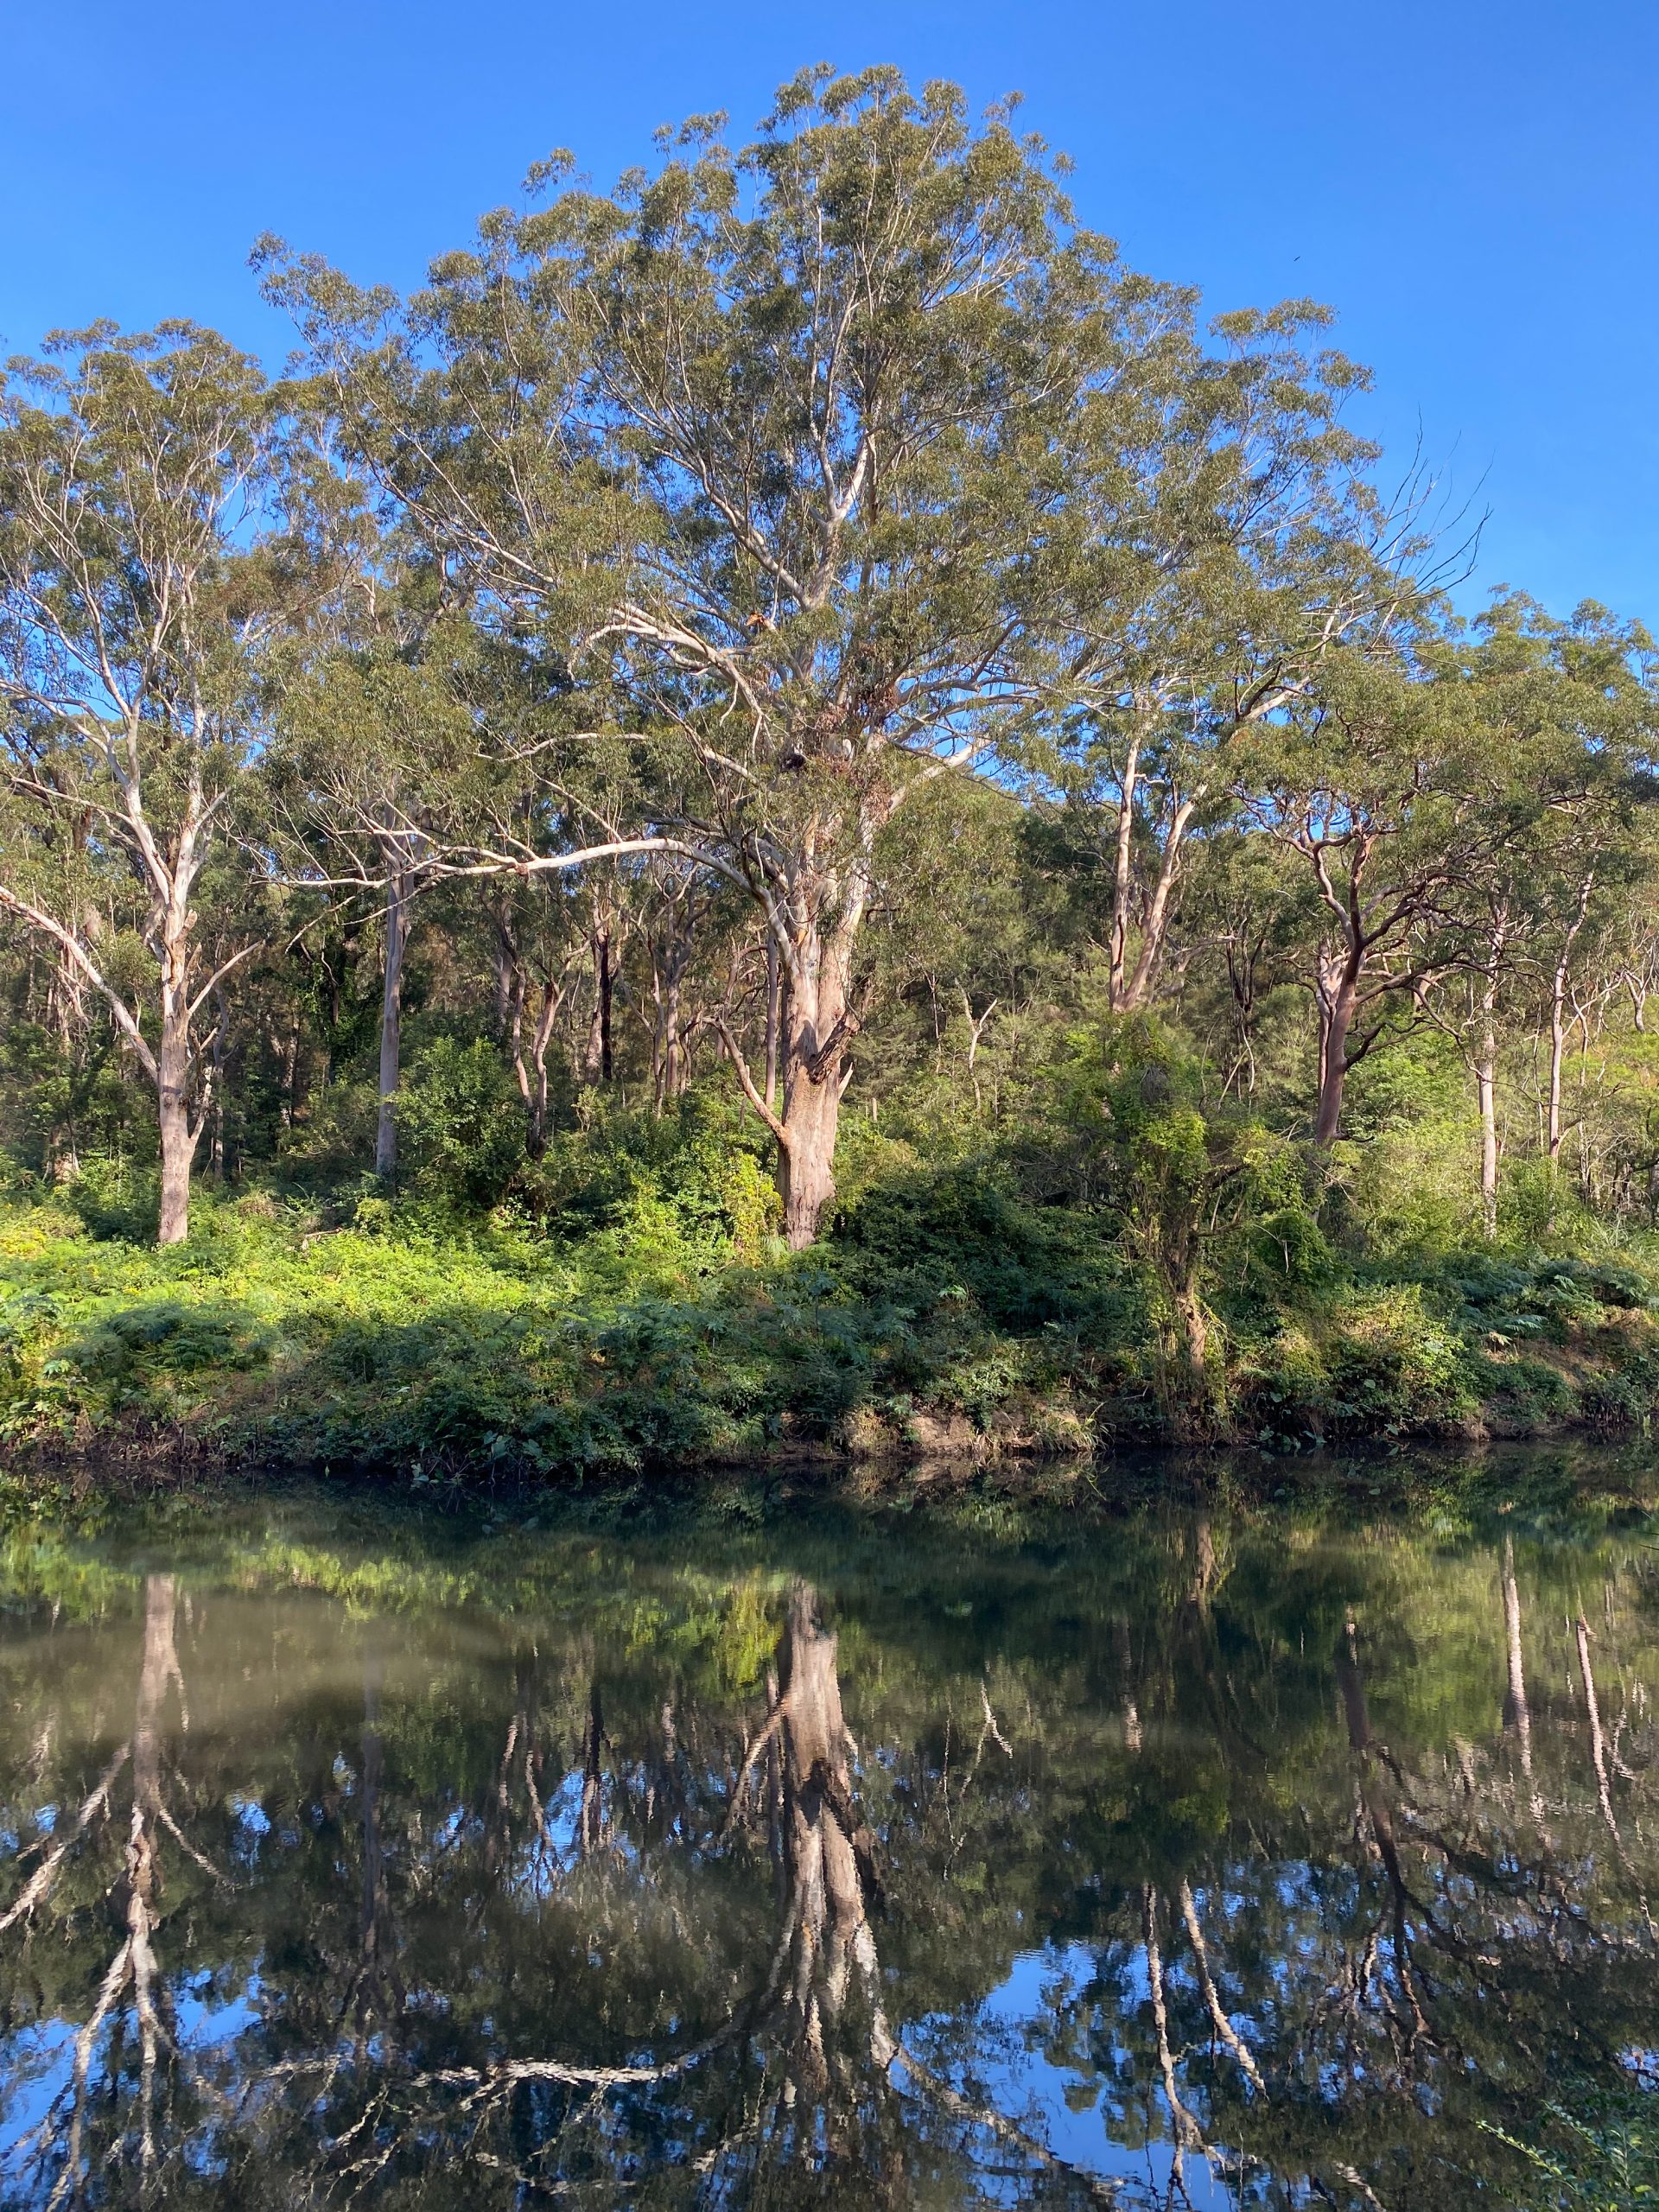 Photo Information
Reflections
Tim Ashelford
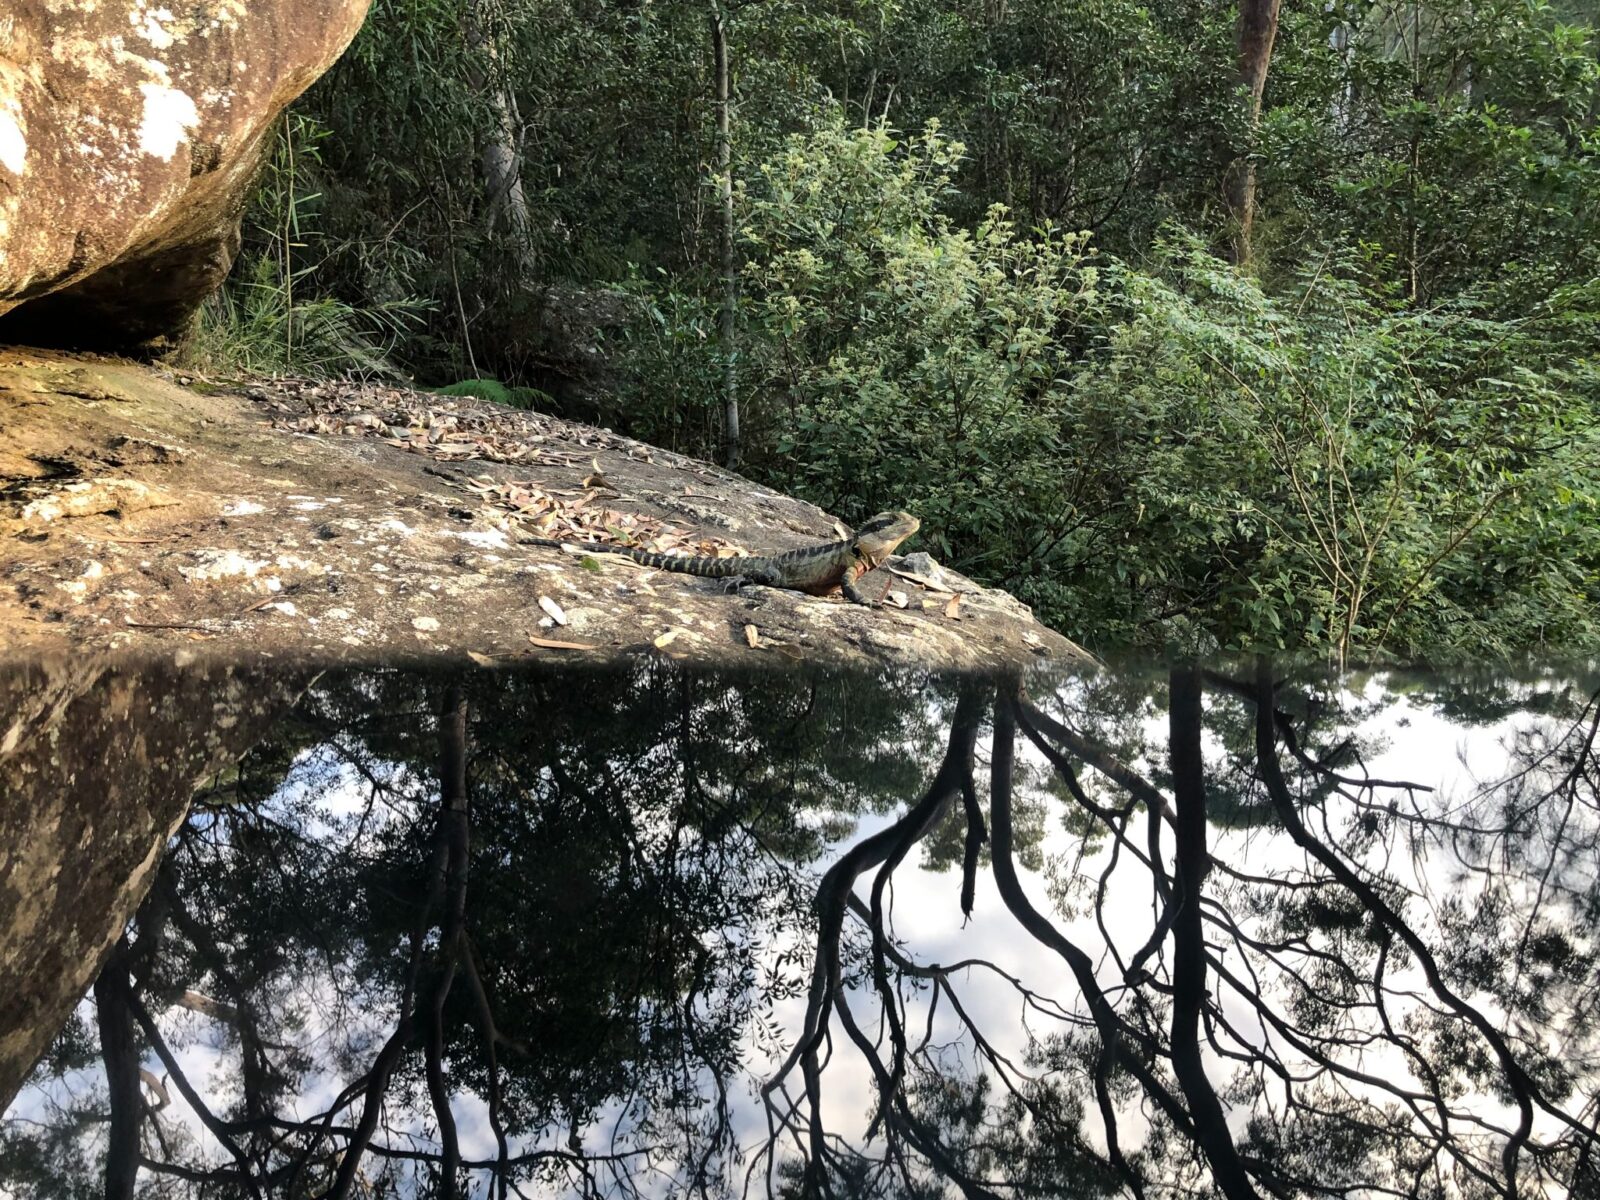
Mirrored water offers all kinds of cool ways to get creative with your phone photography. For starters you can look for landscape reflections in lakes, allowing you to play with symmetry and create strange parallel universes with underwater mountain ranges.
Next, look for ponds and pools where you can get up close and reflect the plants on the banks. If you’re patient you might even see some wildlife, or capture cool reflections from the splashing of birds and fish. Myall Lakes National Park is the perfect setting to test this one out.
No reflections around? No problem. It’s pretty likely one of your mates has a ‘black mirror’ in their pocket, that’s right, another phone! Bring the second phone’s dark screen into the image and angle it until you’ve reflected your subject nicely, then get creative.
Pro tip: Clean your lens! Phone lenses can get dirty and smudged and it’s enough to ruin all your photos! A quick breath and a wipe with a cotton shirt or towel is all you need.
-
2/7
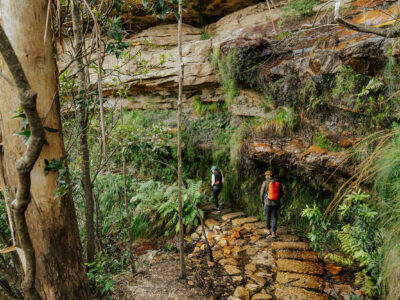
Bring Your Camera Close To The Ground For Awesome Angles
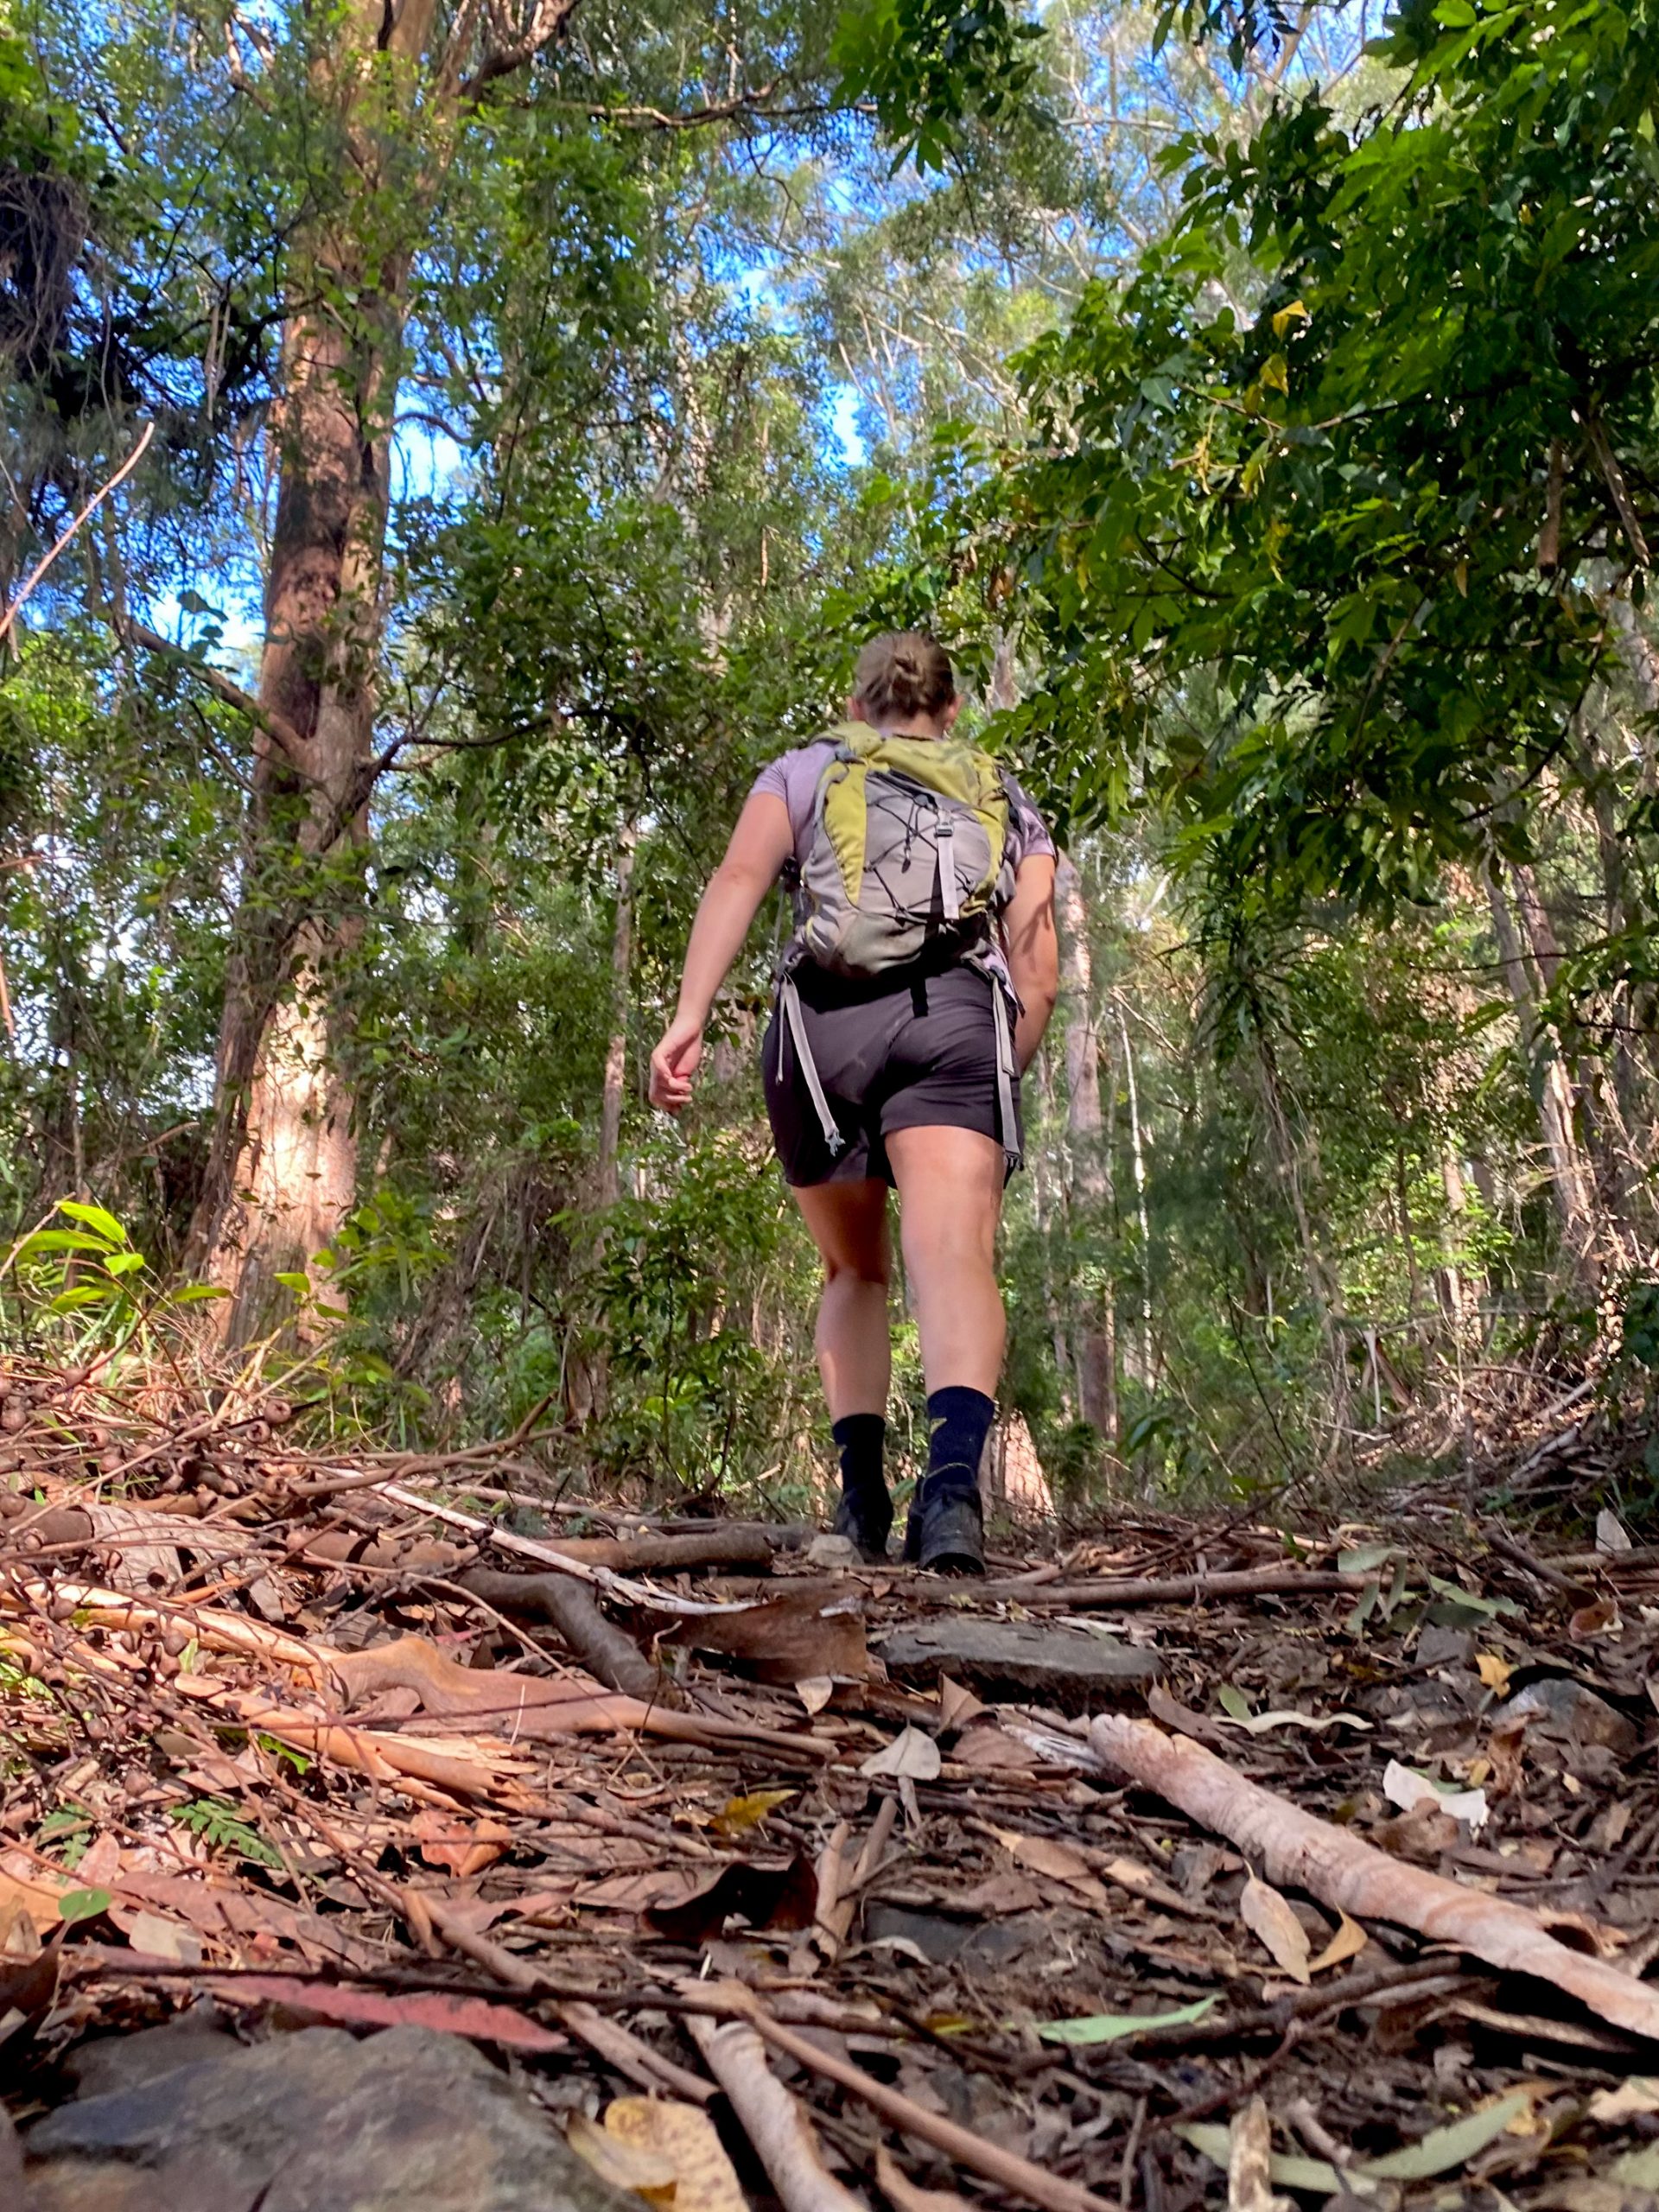 Photo Information
Angles
Tim Ashelford
Phone cameras are often at the top of the phone, which is great for everyday shooting, but it also means they can get really close to the subject. You can enhance this technique even further with the wide-angle lens on newer phones.
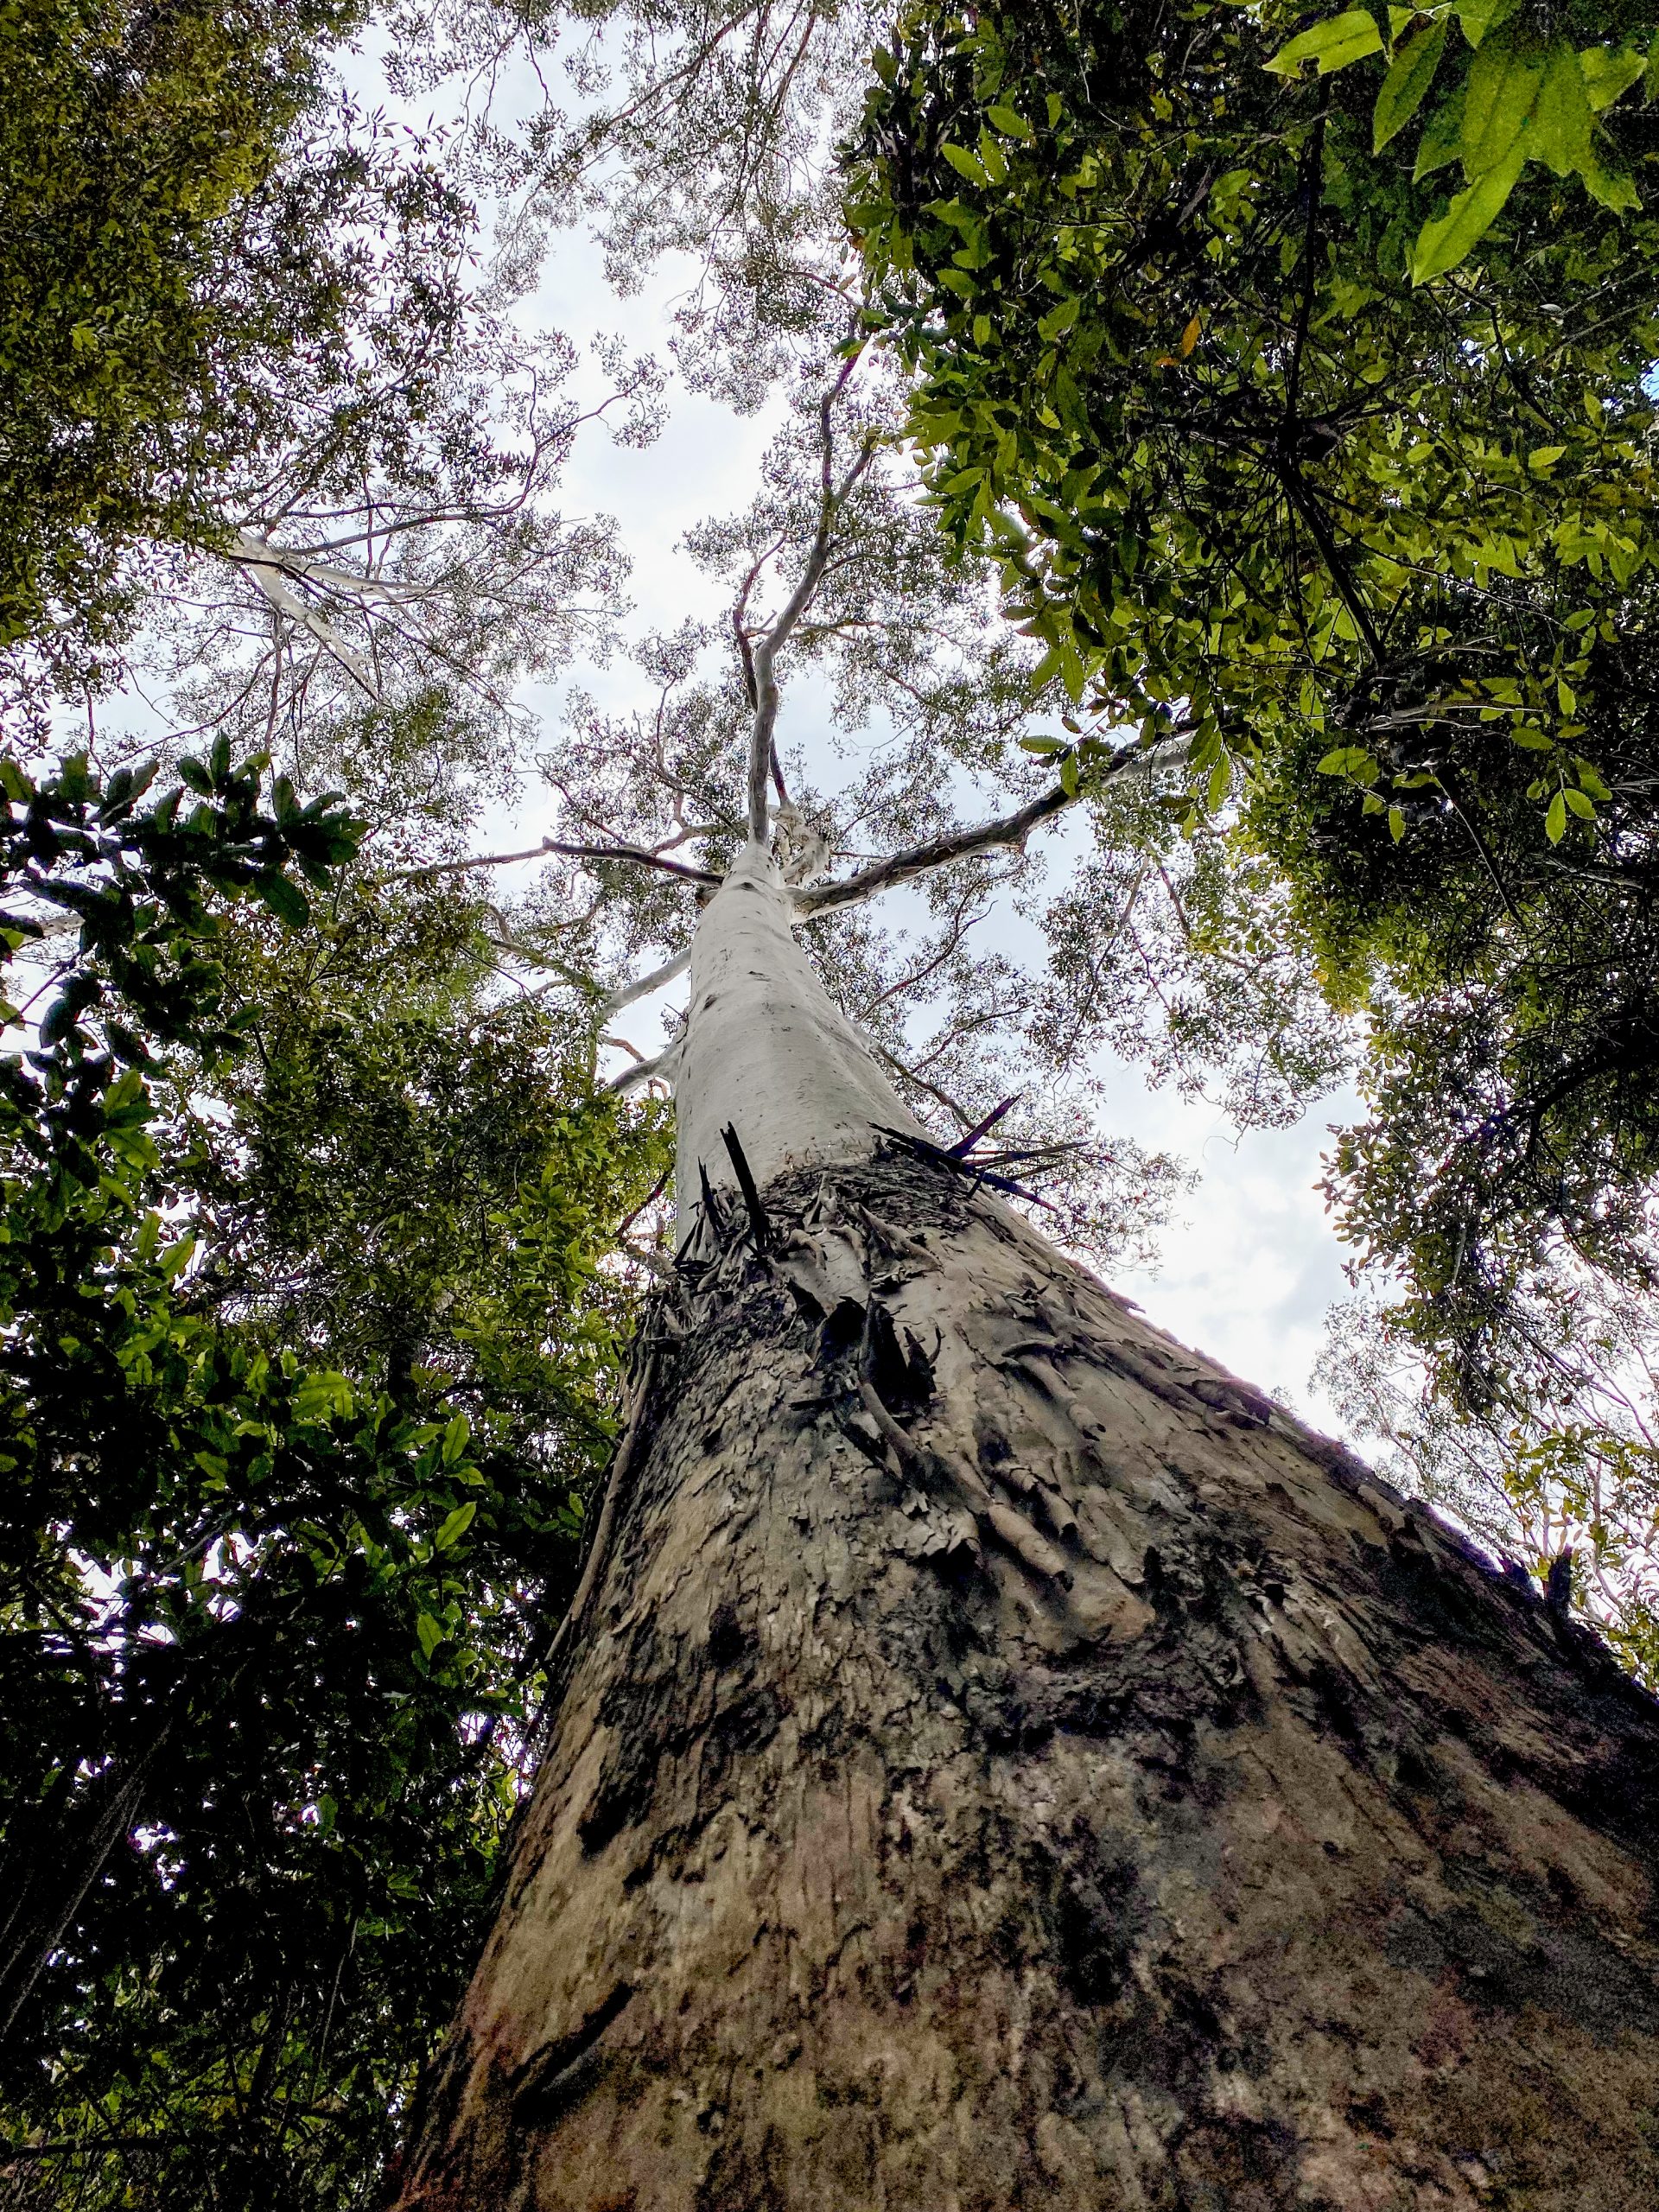 Photo Information
Awesome Angles
Dorrigo National Park
Tim Ashelford
I’m not talking about macro photography mind you, what you want to do is put your phone perpendicular to the ground (or tree, or rock wall), then angle it back slightly so the screen points a little bit towards the ground. Then simply rotate the photo using your phone’s editing tools. About 1/3rd of the photo should be taken up by the object you put it close to, followed by the middle and background. Your final shot will have oodles of perspective and be super eye-catching!
Looking for inspiration? Visit Bungonia National Park, its steep cliff walls are perfect for playing with this technique.
-
3/7
Experiment With Real World Filters
It’s safe to say that using filters on your photos is so yesterday (if you’re still using them sorry to break the news). But using real-world filters is not only socially acceptable, it’s heaps of fun!

 Photo Information
Experimenting with real world filters its so drea,my
Tim Ashelford
 Photo Information
Tim Ashelford
It’s safe to say that using filters on your photos is so yesterday (if you’re still using them sorry to break the news). But using real-world filters is not only socially acceptable, it’s heaps of fun!
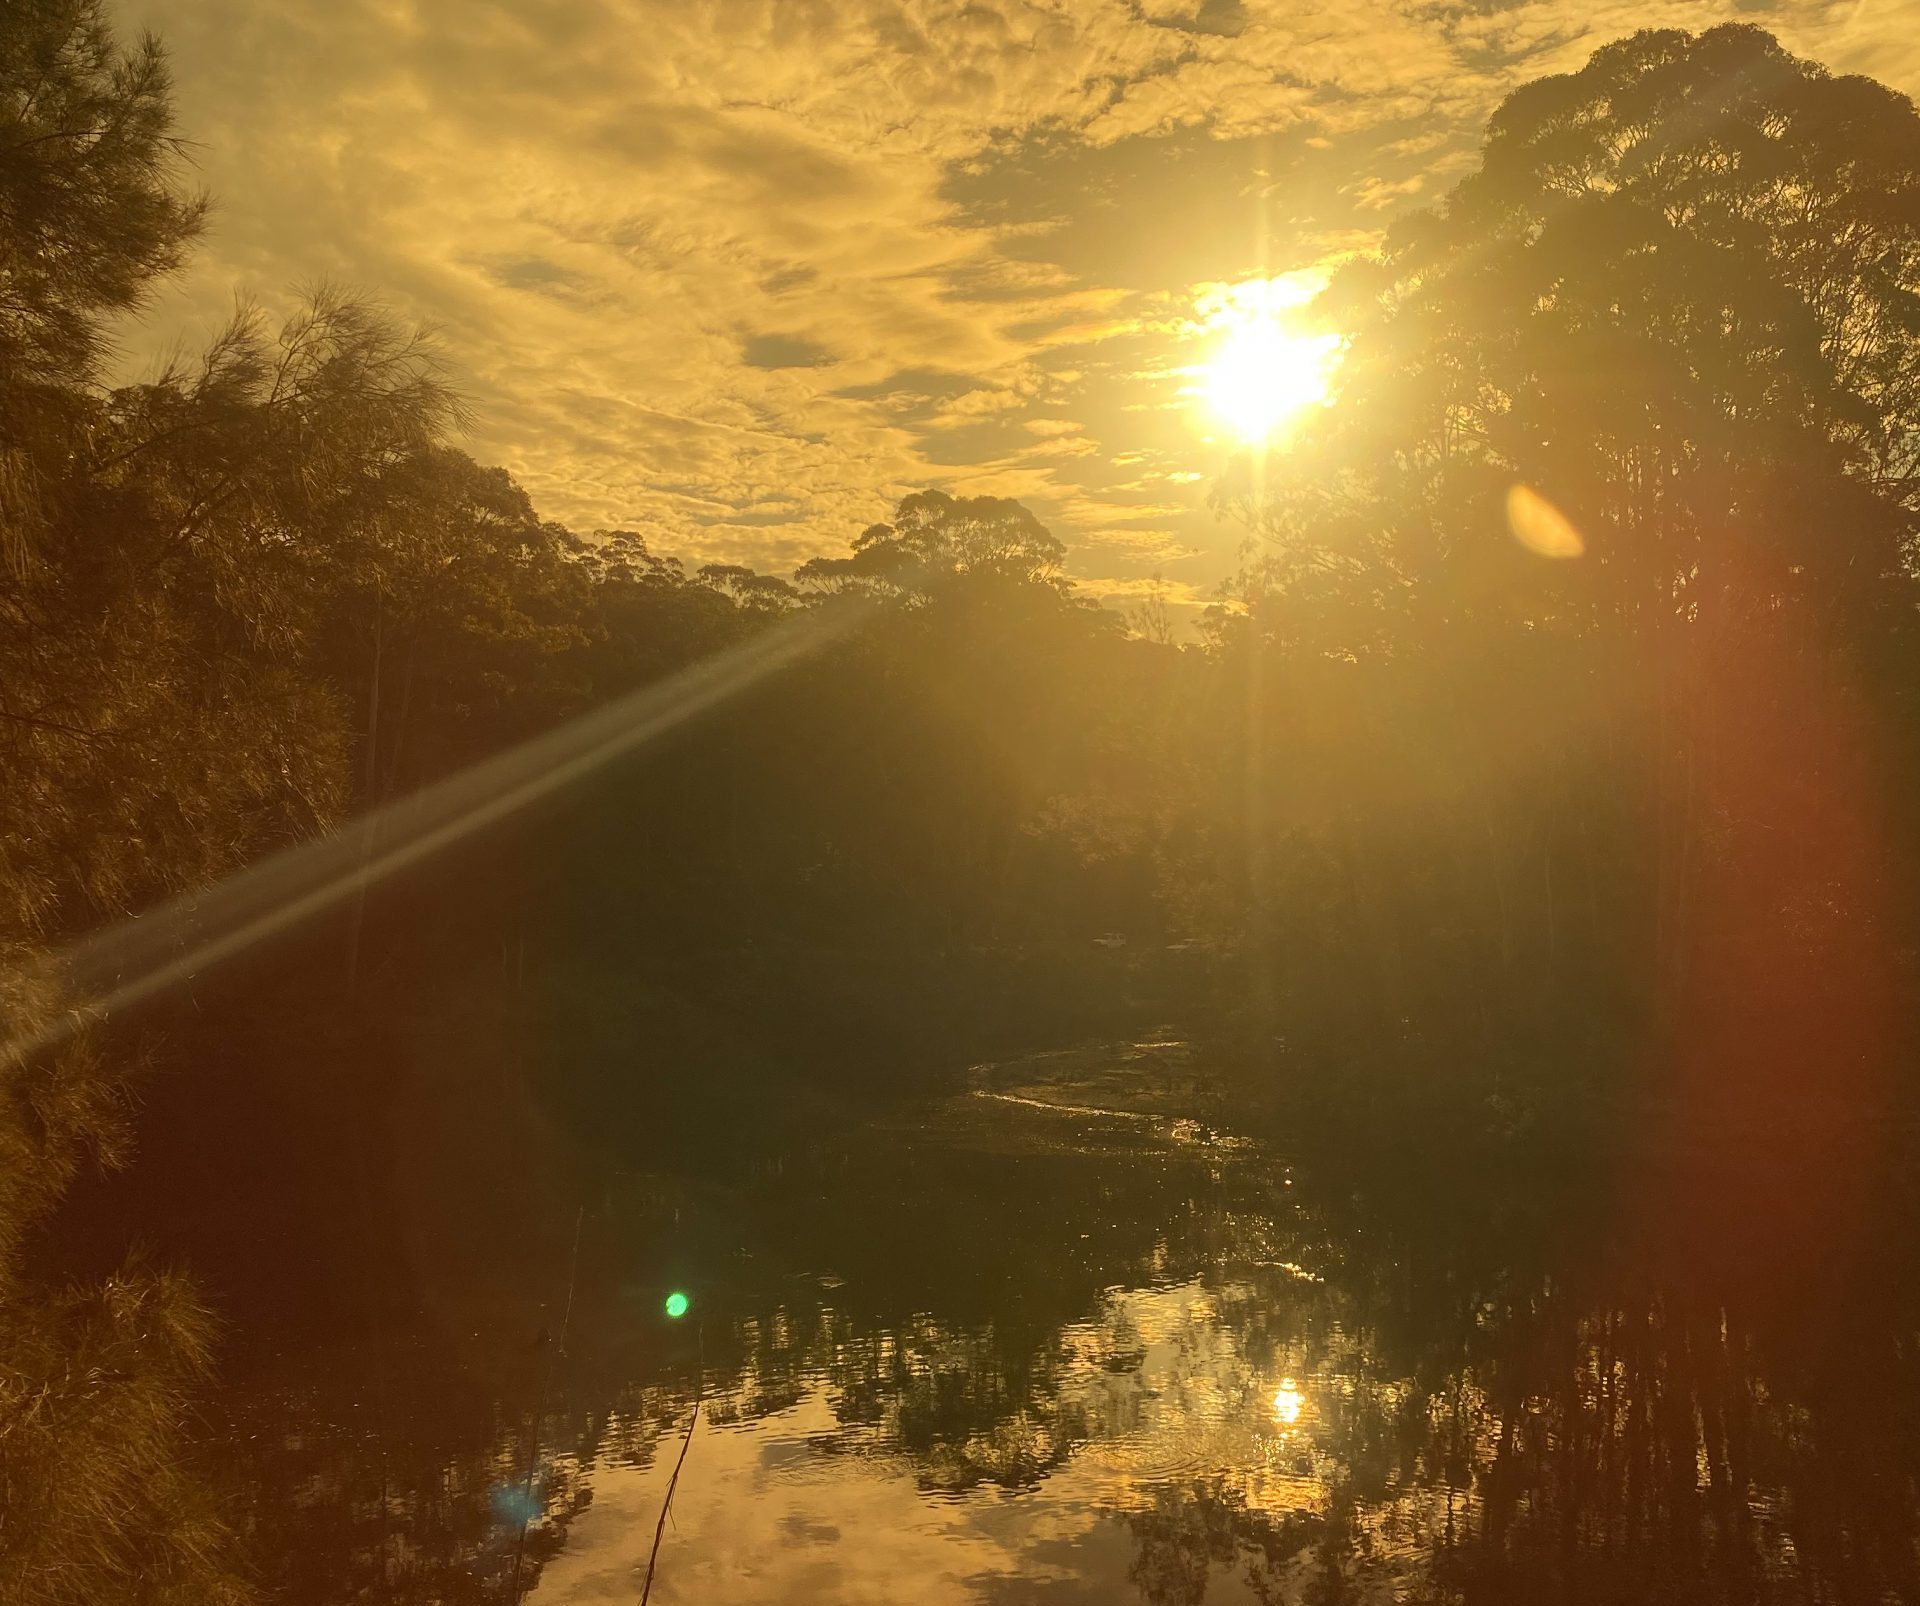 Photo Information
Experimenting with real world filters – sunglasses trick
Tim Ashelford
A favourite real-world filter is simply putting your sunglasses in front of the camera for a mellow sepia effect. Hold the sunnies slightly further away (so the camera catches the frames) for a shot that really captures your point of view. You can also try and focus your phone through some binoculars for a really zoomy POV (point of view) shot.
Not exactly a filter: but a spray bottle (or even a squeezy water bottle) can help you add moisture to your scene. Morning dew or done by you, who knew?
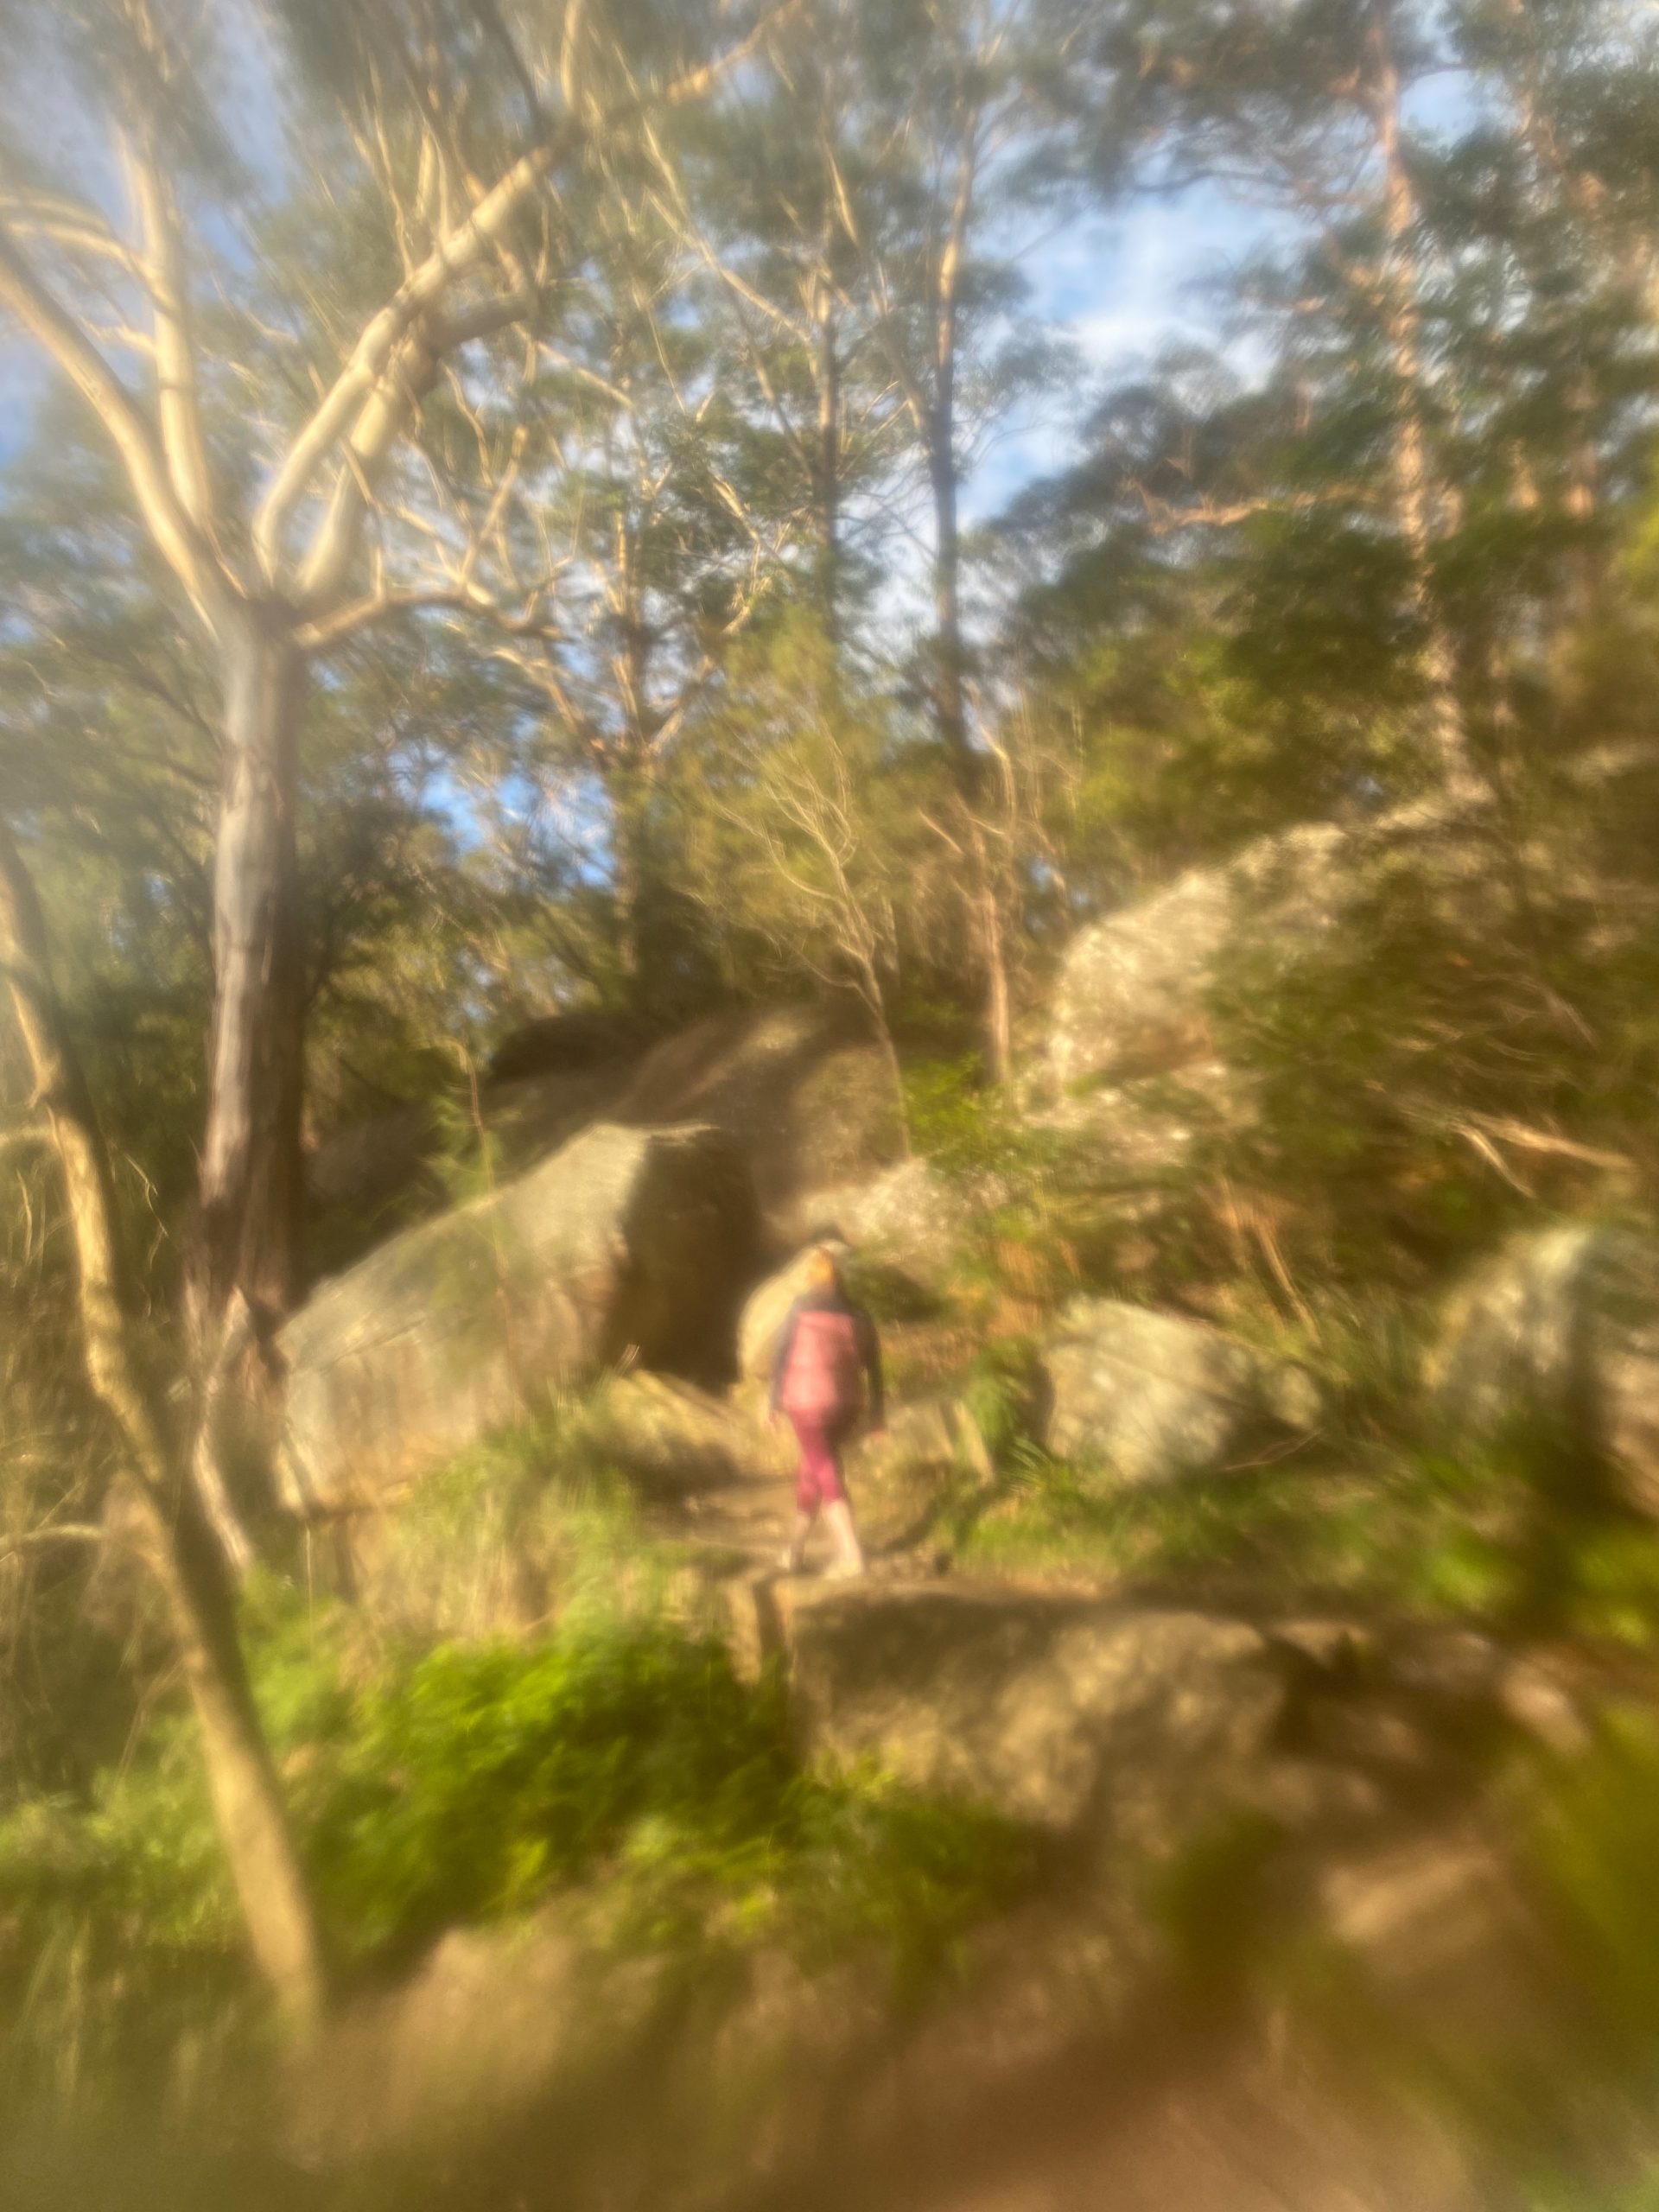 Photo Information
Real life filter using plastic
Tim Ashelford
Need another creative filter? Use a sandwich bag. Simply cover sections of the shot with the plastic to blur parts of the image. This dreamy technique works particularly well in beach settings, like those found in Yuraygir National Park.
Ranger Tip: Don’t forget to take your filter materials with you and leave no trace.
-
4/7
‘Paint’ Your Scene With A Torch
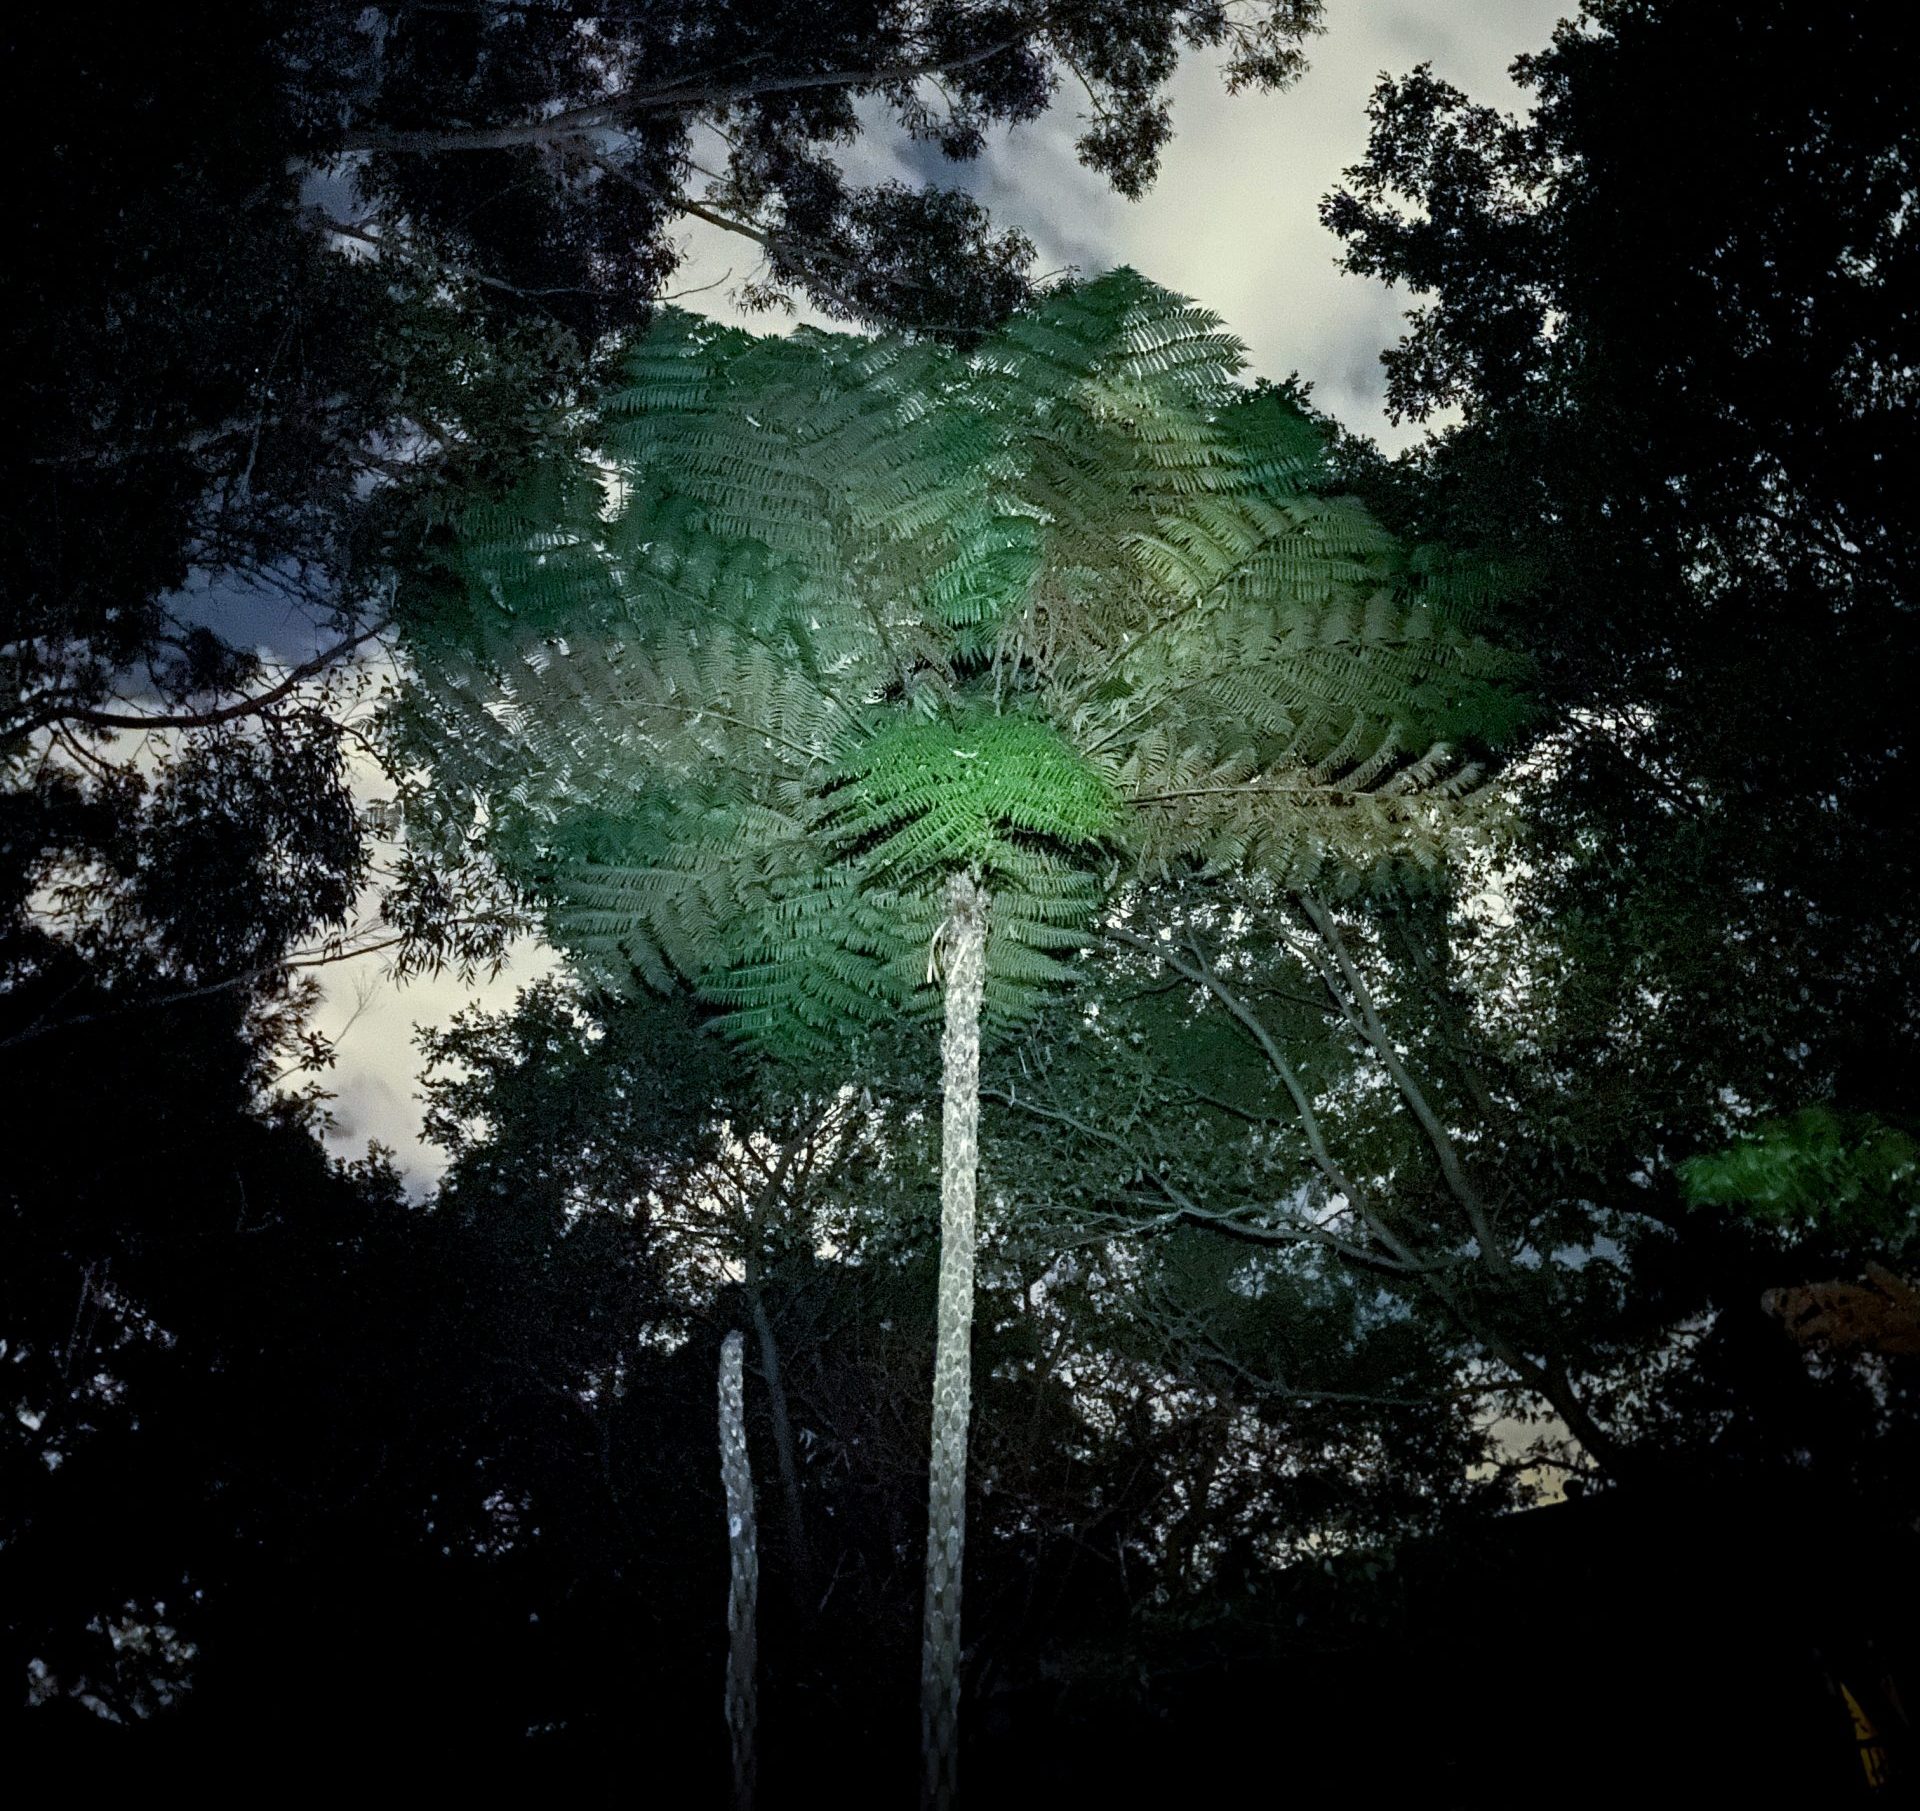 Photo Information
Painting a scene
Tim Ashelford
Modern smartphones can take photos in dark conditions that were completely impossible a few years ago. But while the technology is pretty amazing (and even better with a phone tripod to keep things steady) there’s only so much a poor phone camera can do. Sometimes you need light.
I’m not talking about the phone’s flash, I’d go as far as saying to never use that thing. You need something powerful, a torch or even a lantern.
With a long exposure time selected, ask a friend to shine the light over the parts of the photo you want to highlight. You’ll have to light up your subject before you take the photo, as phone cameras get confused if you start flicking things on and off.
Maybe it’s a starry camping scene with a gorgeous tree in the foreground or a sunset snap at a lookout where you want to highlight your friends’ cute faces. The possibilities are pretty much endless!
It goes without saying: Please respect the wildlife and avoid flashing lights at them. Help us Keep wildlife wild #don’tfeedthem too.
-
5/7
Make a DIY Reflector
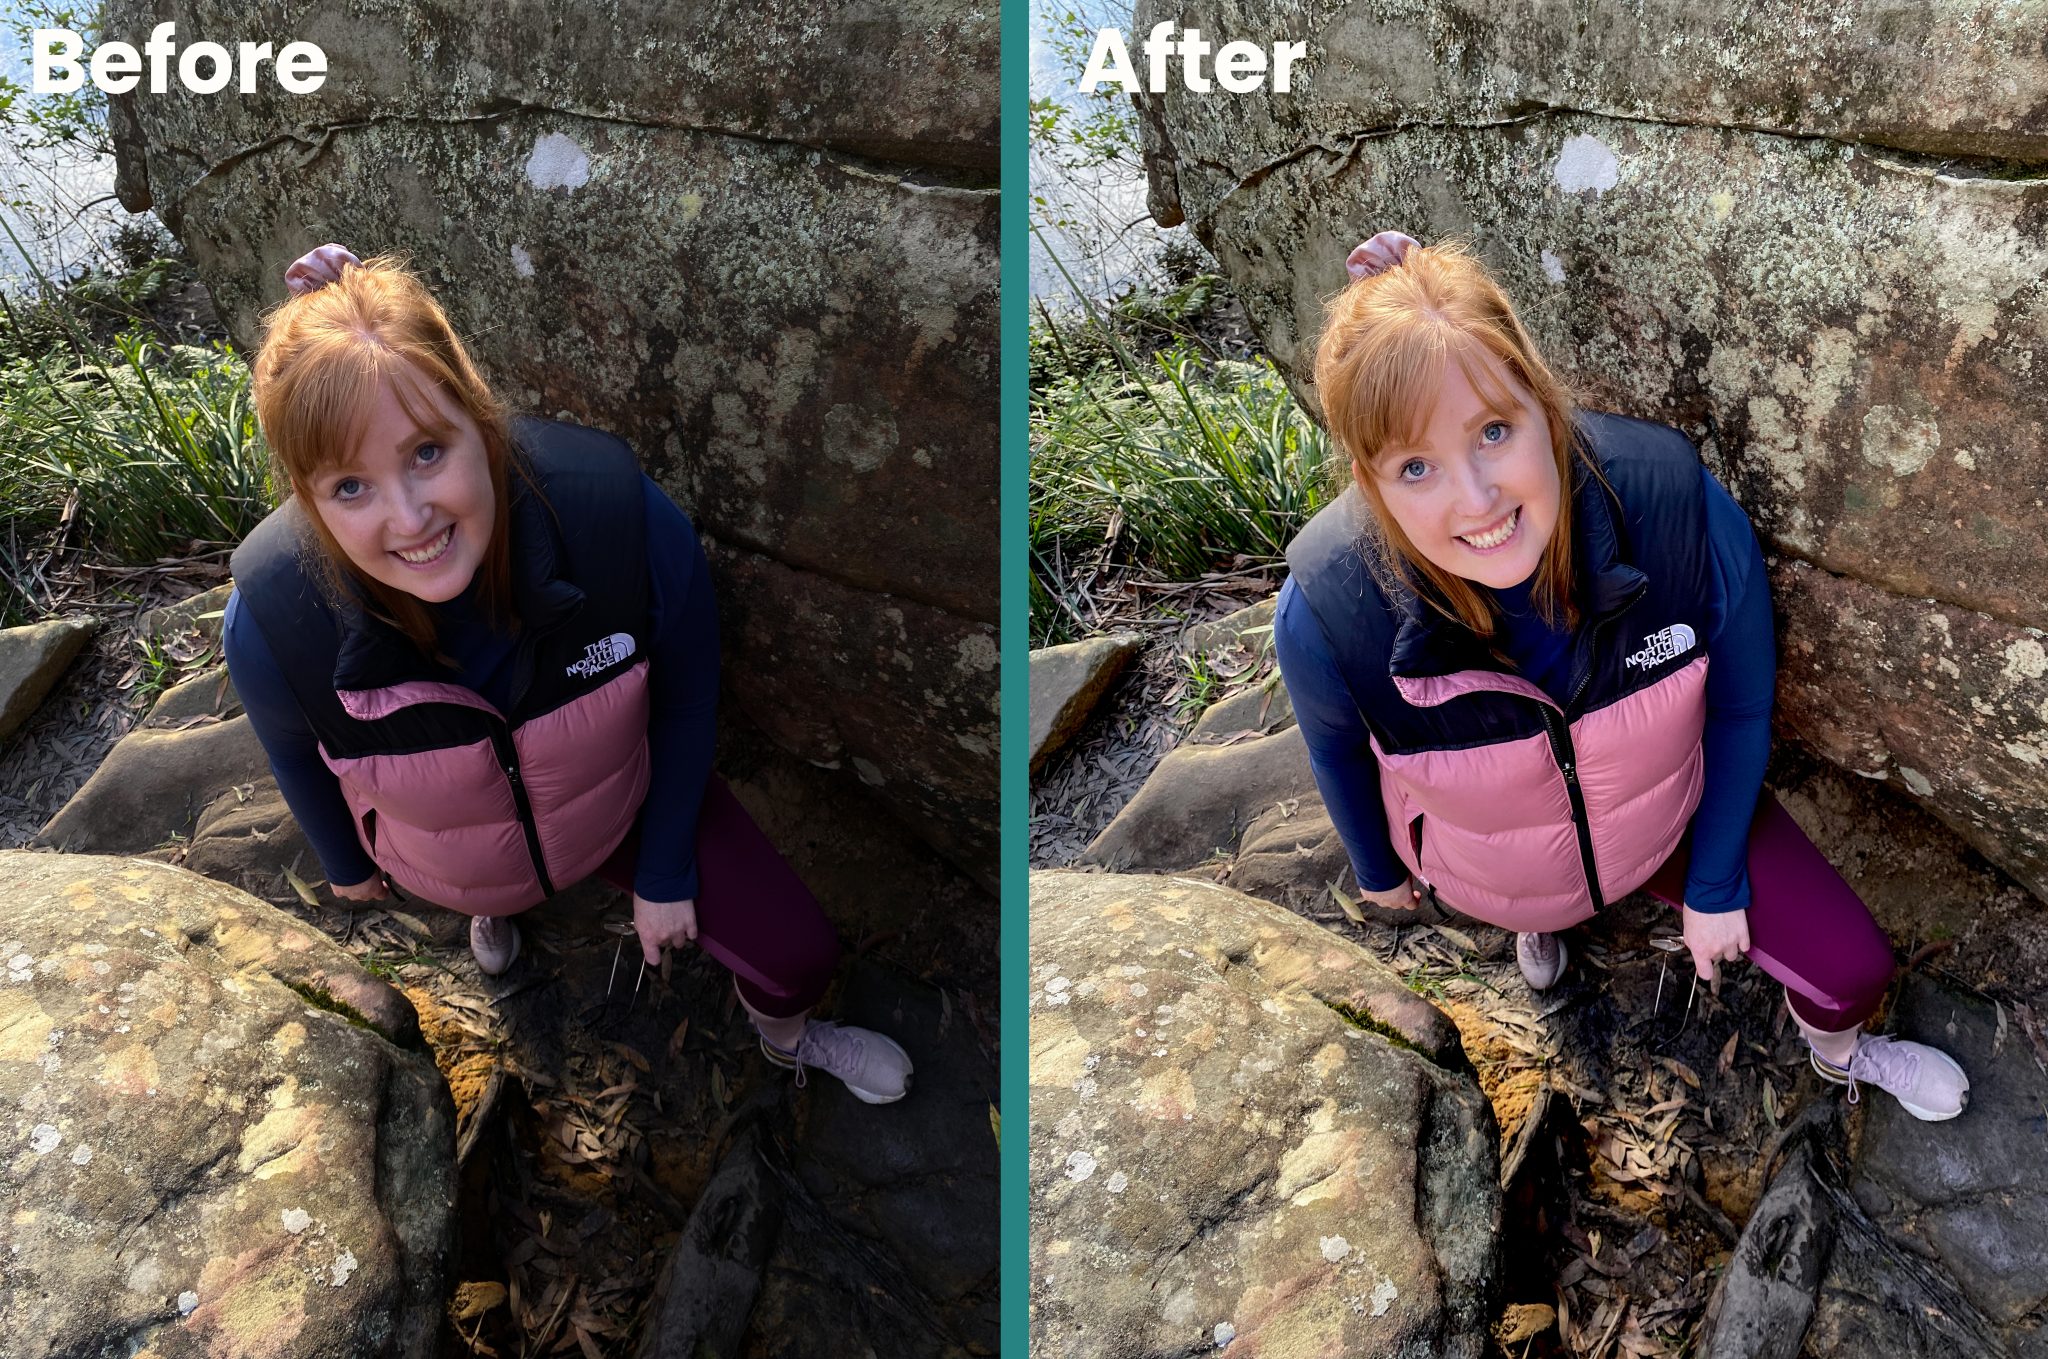 Photo Information
DIY reflector – what magic is this?!
Tim Ashelford
It’s time to go full model! Reflectors are generally large, reflective surfaces that pro photographers use to even out the lighting on people’s faces. Ever taken a shot of your friends at a lookout only to have their faces completely in shadow? Use a reflector to point that sun right back at them!
You can easily make a small DIY reflector by covering a rectangle of cardboard with tin foil and stashing it in your backpack. Tinfoil is great because it scatters the light nicely, and you probably have it at home (use the dull side for even reflection). Just make sure not to drop any foil in the national park (or anywhere, for that matter).
What’s that? You want a lookout recommendation too? You’ve gotta visit Mount Kaputar National Park then, with heaps of climbs and the bright plains below as a backdrop, you’ll be glad you crafted a reflector for the summit selfie.
Ranger Tip: Selfies can be dangerous, make sure you Check Your Selfie Before You Wreck Your Selfie and stay away from cliff edges.
-
6/7
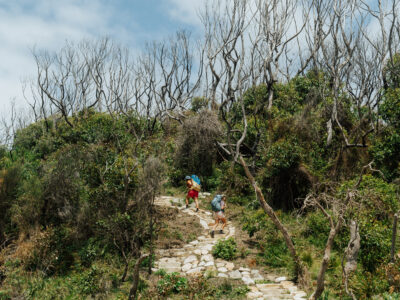
Take Panoramas of Trees Vertically
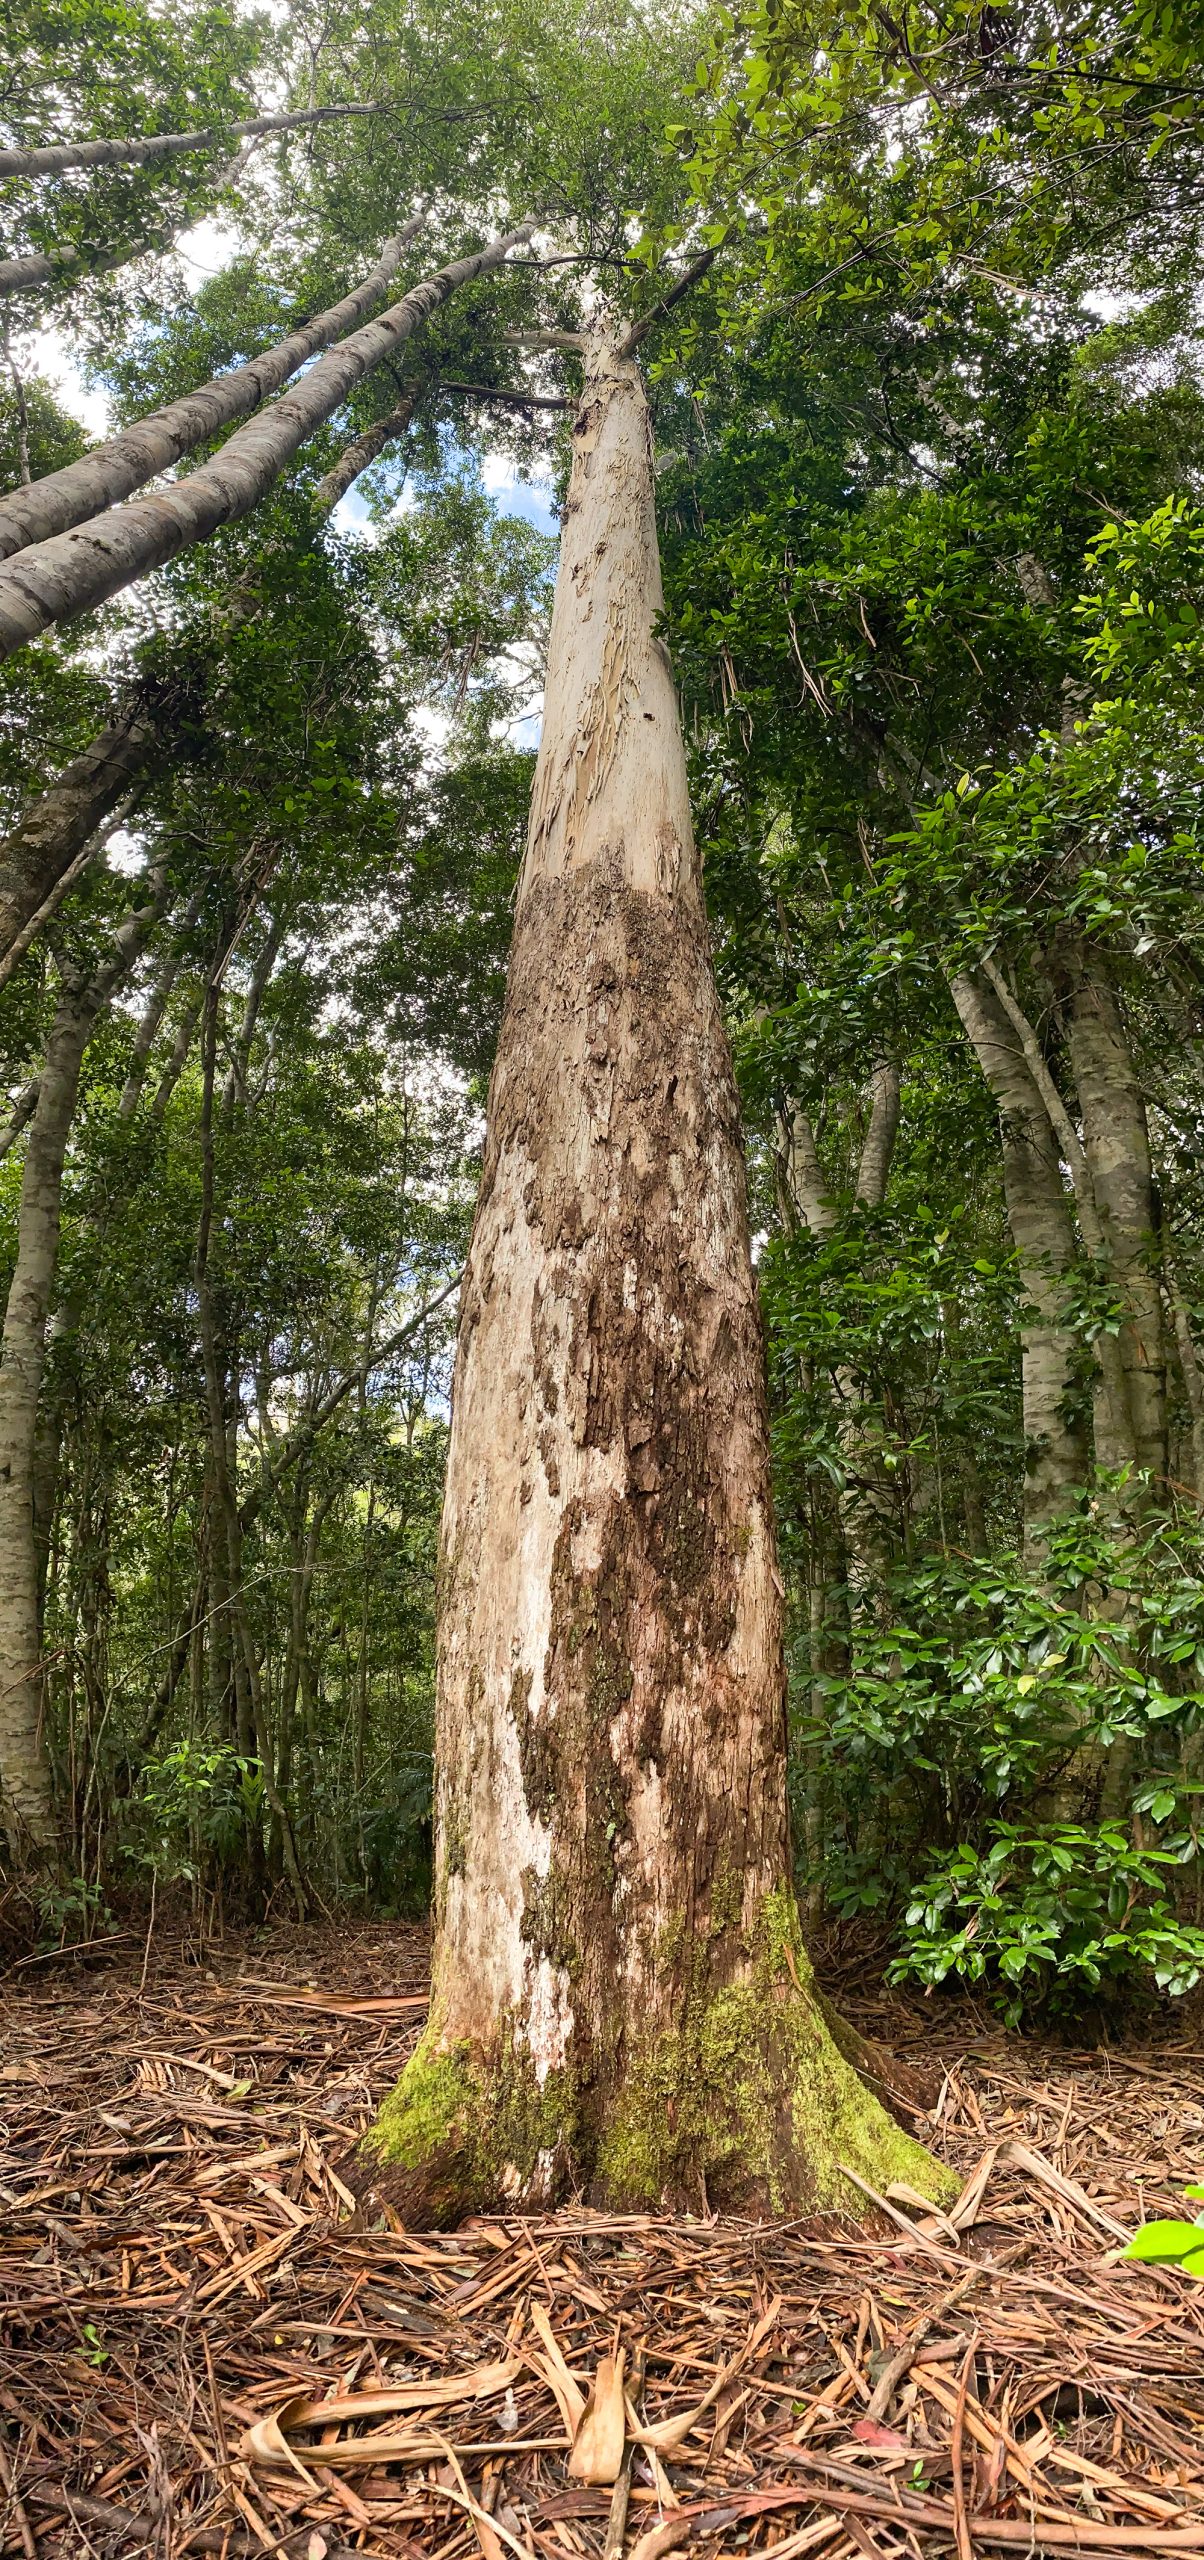 Photo Information
Try a vertical panorama
Tim Ashelford
At this point, it’s basically muscle memory. Arrive at the lookout, switch your phone to pano mode, and start rotating like a pedestal fan in the Sydney summer. But have you ever thought about sending that thing vertical?
Panoramas of trees are super cool, allowing you to capture the full scale of the scene above you. Sometimes they struggle to adjust their focus, as you’re often far closer to the base of the tree, so the best technique is usually to focus on the canopy and move downwards.
That being said, all phones and situations are different, so get experimenting!
Don’t get tunnel vision: It’s easy to do when framing a shot. But whether you’re the subject of a shot or the one taking it, you might be more distracted if you’re concentrating on the camera. So if you think you’re going to move, focus on moving, then get back to camera action.
-
7/7
Turn Live Photos Into Long Exposures
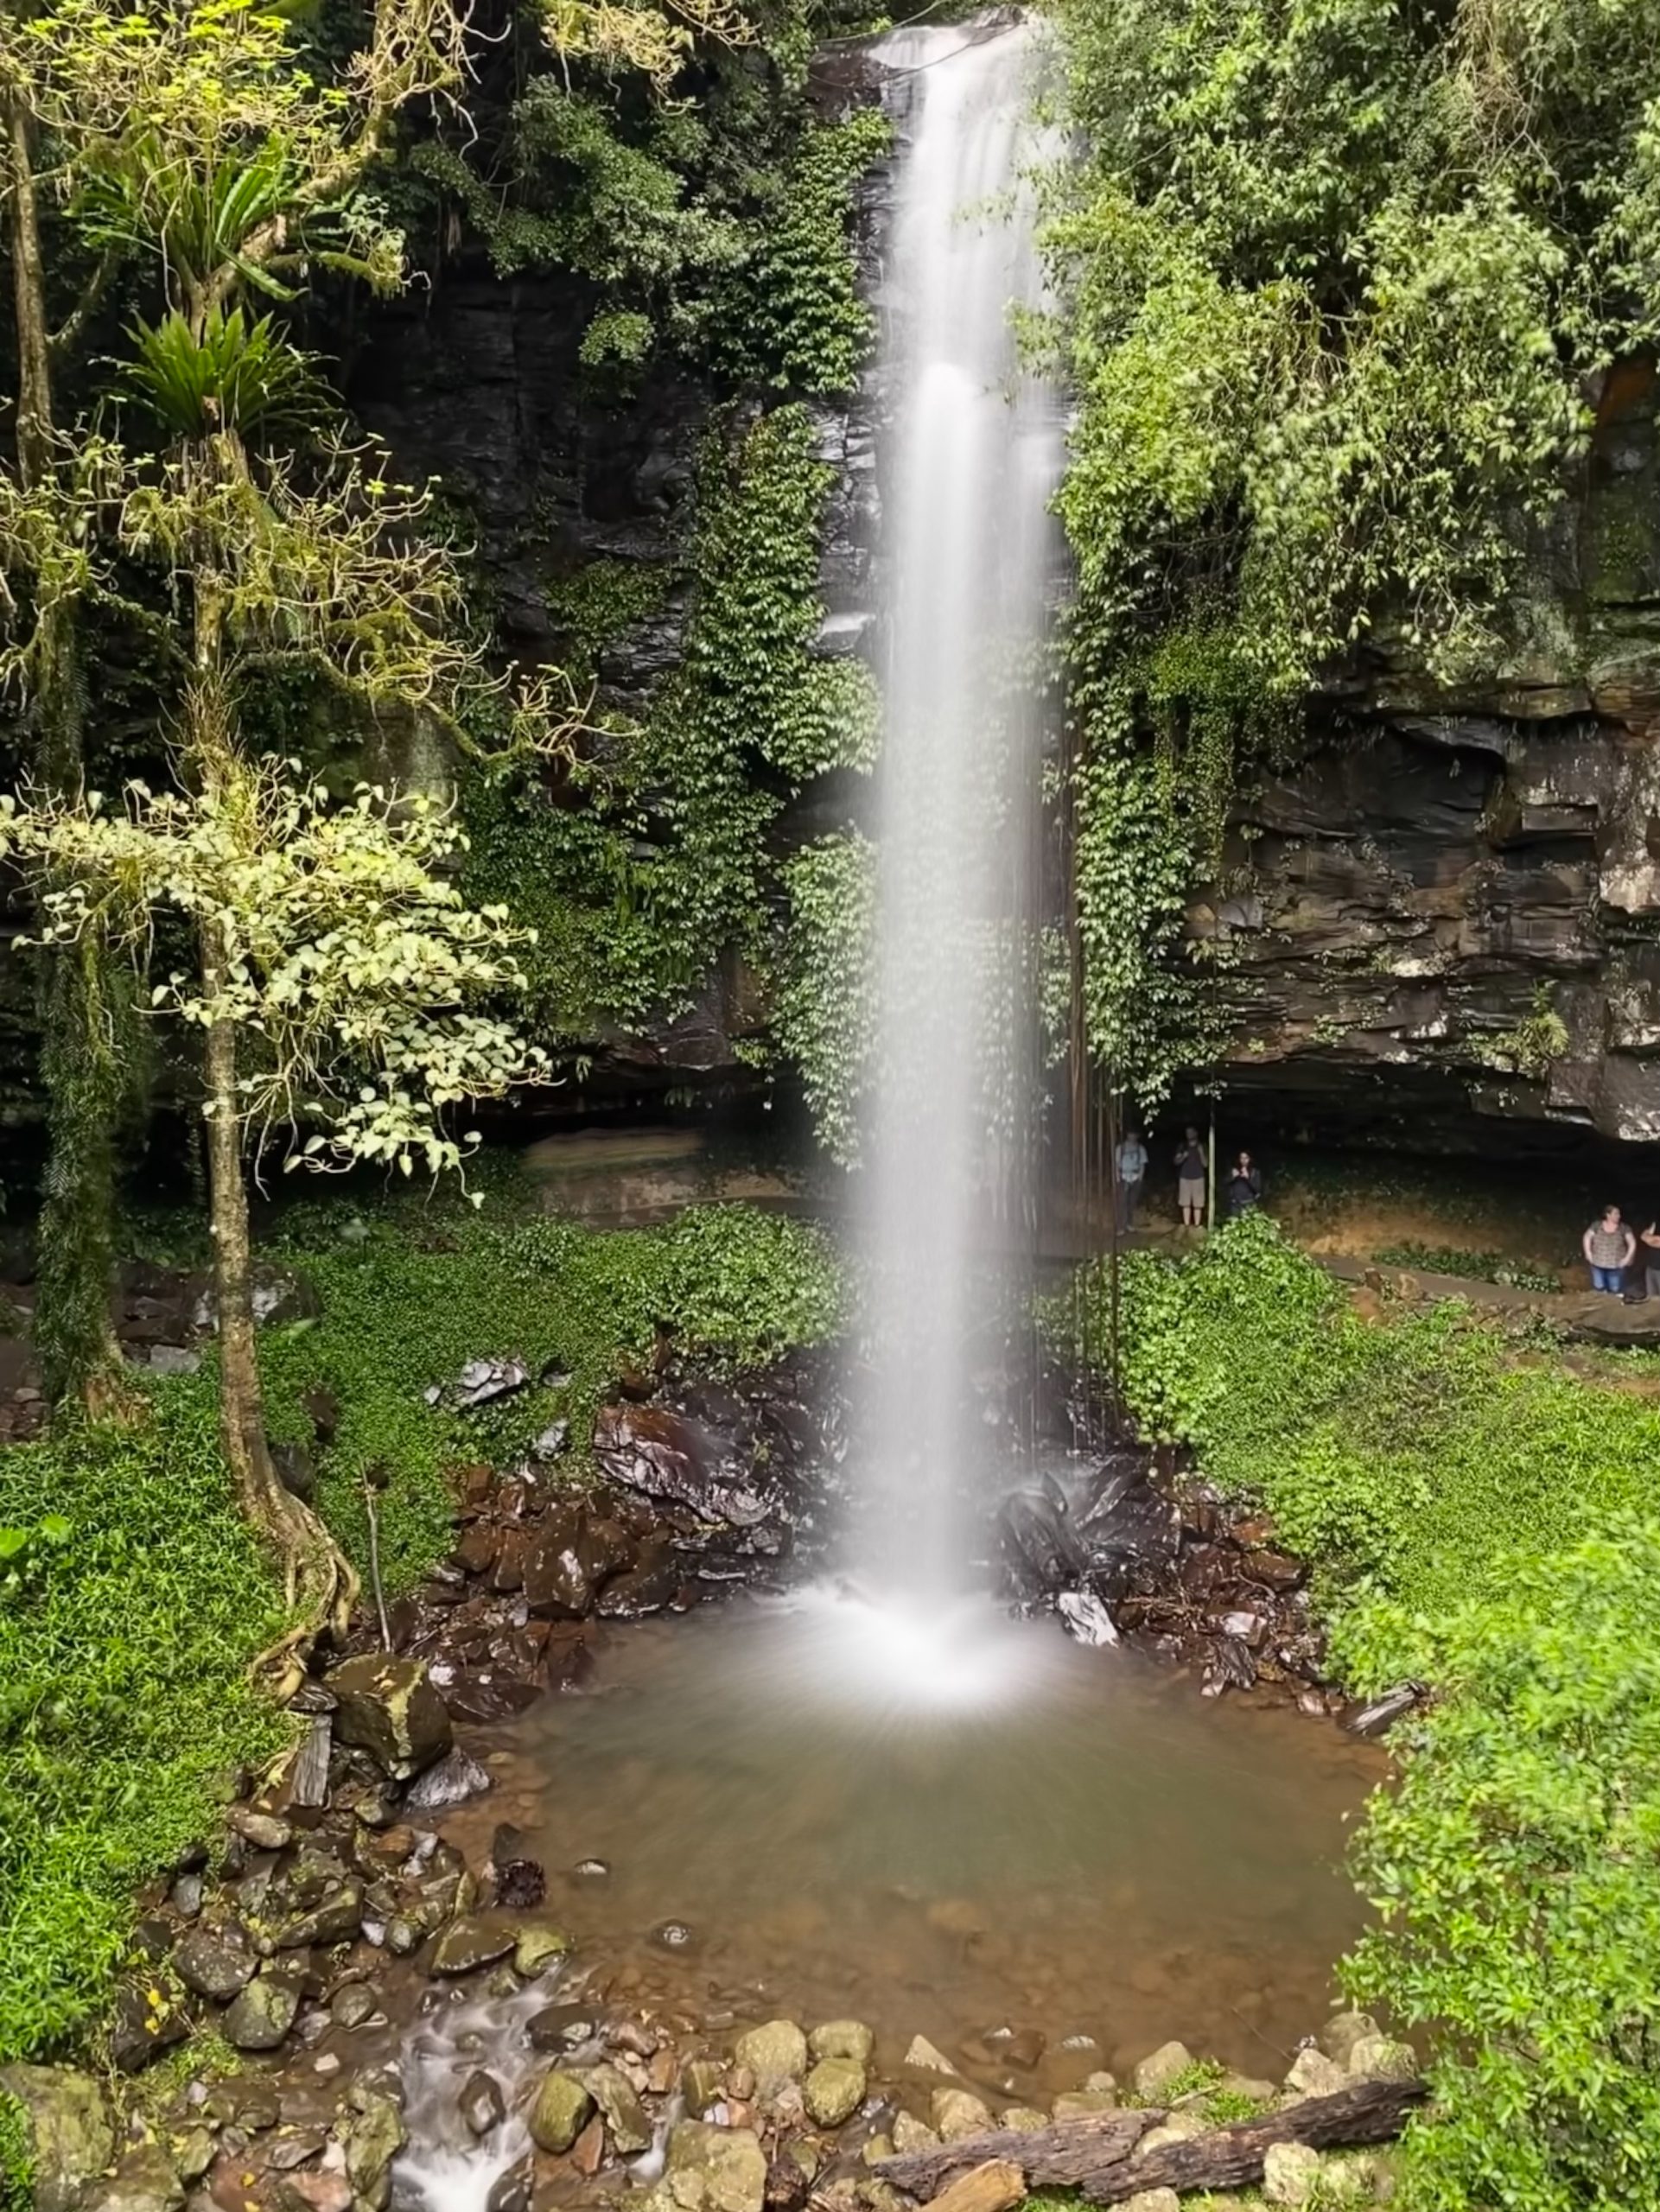 Photo Information
Turn live photos into long exposures
Dorrigo National Park
Tim Ashelford
iphone users will be pretty familiar with Live Photos, which let you choose from a few seconds of footage to capture the perfect moment. But did you know you can combine Live Photos into a single long exposure?
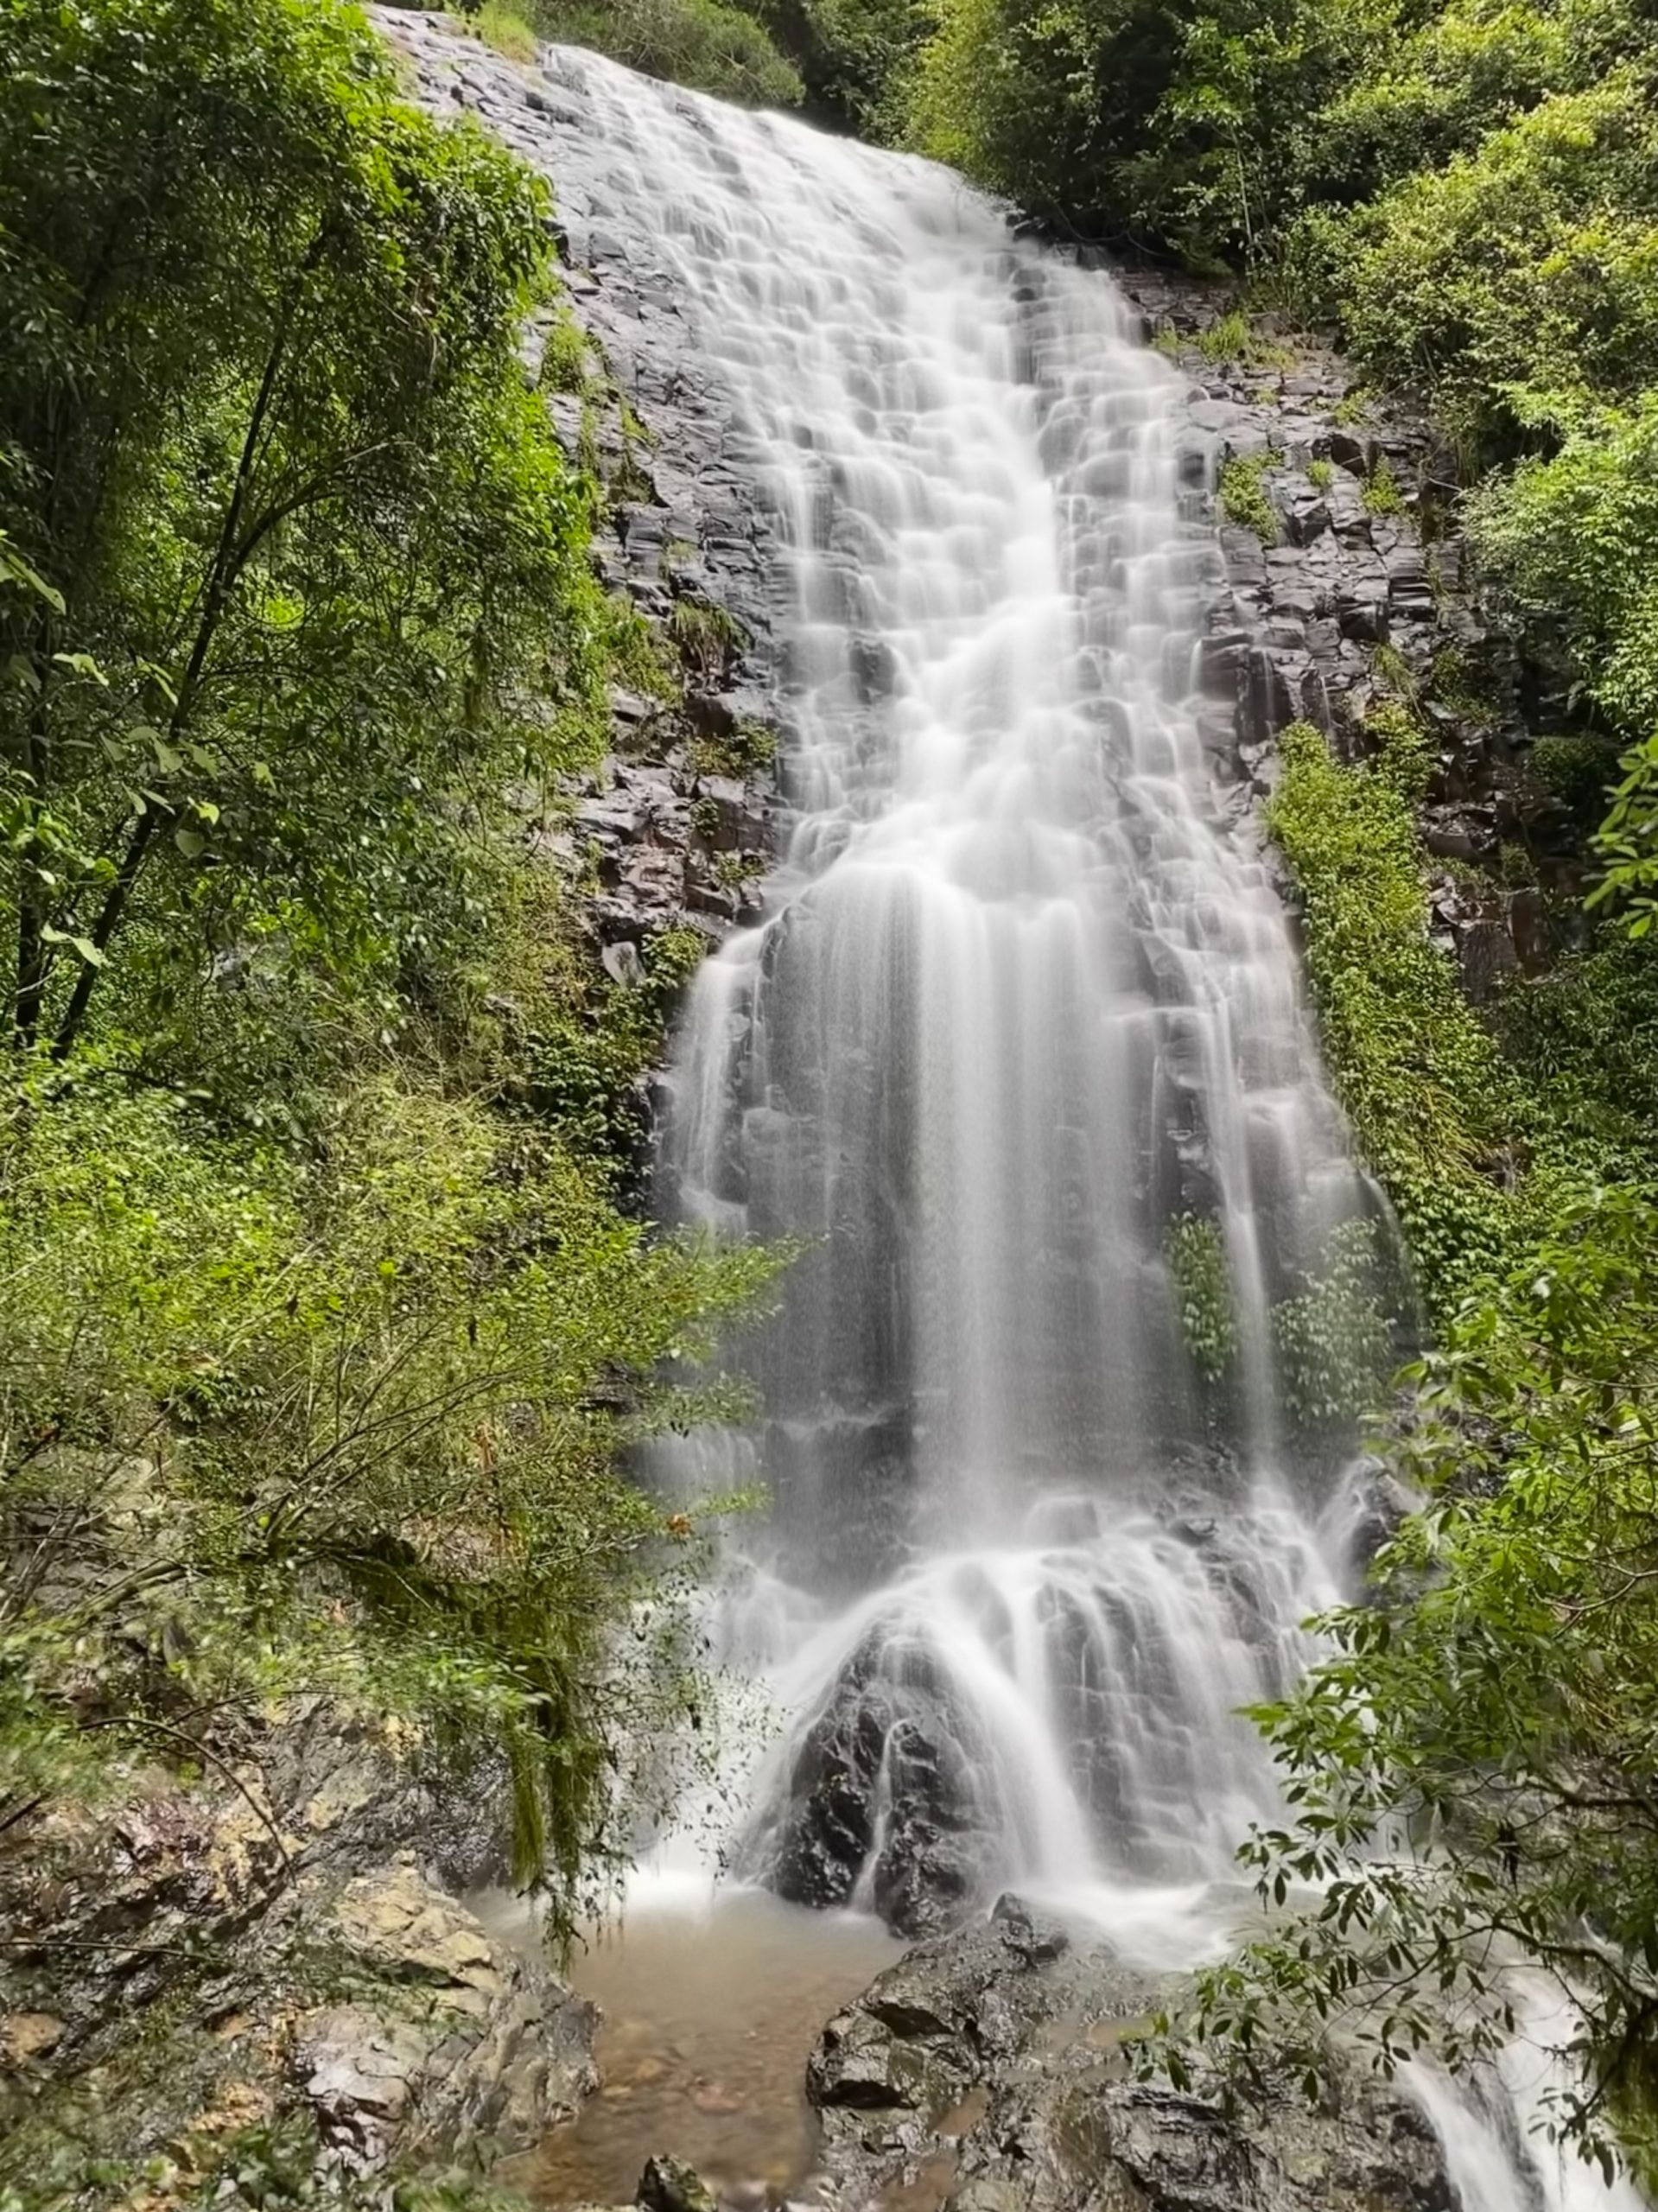 Photo Information
Turn live photos into long exposures
Dorrigo National Park
Tim Ashelford
Simply swipe up on the Live image and scroll across to long exposure and hey presto, your waterfall or ocean scene has taken on a dreamy look that’s filled with movement and definitely doesn’t look like it was taken on a phone.
Head to Morton National Park to shoot waterfalls to your heart’s content while trying out this sneaky hidden feature.
Ranger Tip: Waterfalls can be dangerous places, with wet rocks, steep drops and fast-flowing water. It’s important to practice these waterfall safety tips and if you see someone taking risks, say something.
Who Needs A Camera?
With these tips in your arsenal, you’ll be creating unique, eye-catching images on your phone that capture your experiences in NSW National Parks. We’d love to see the results so don’t forget to tag #NSWParks or @nswnationalparks. Happy snapping!